Make Your Own Cape

You need an item that isn’t commercially available. You want something unique. You want total control over the materials, color, style, and details. You want a custom fit. You’re on a budget. You enjoy that smug “I made this” feeling.

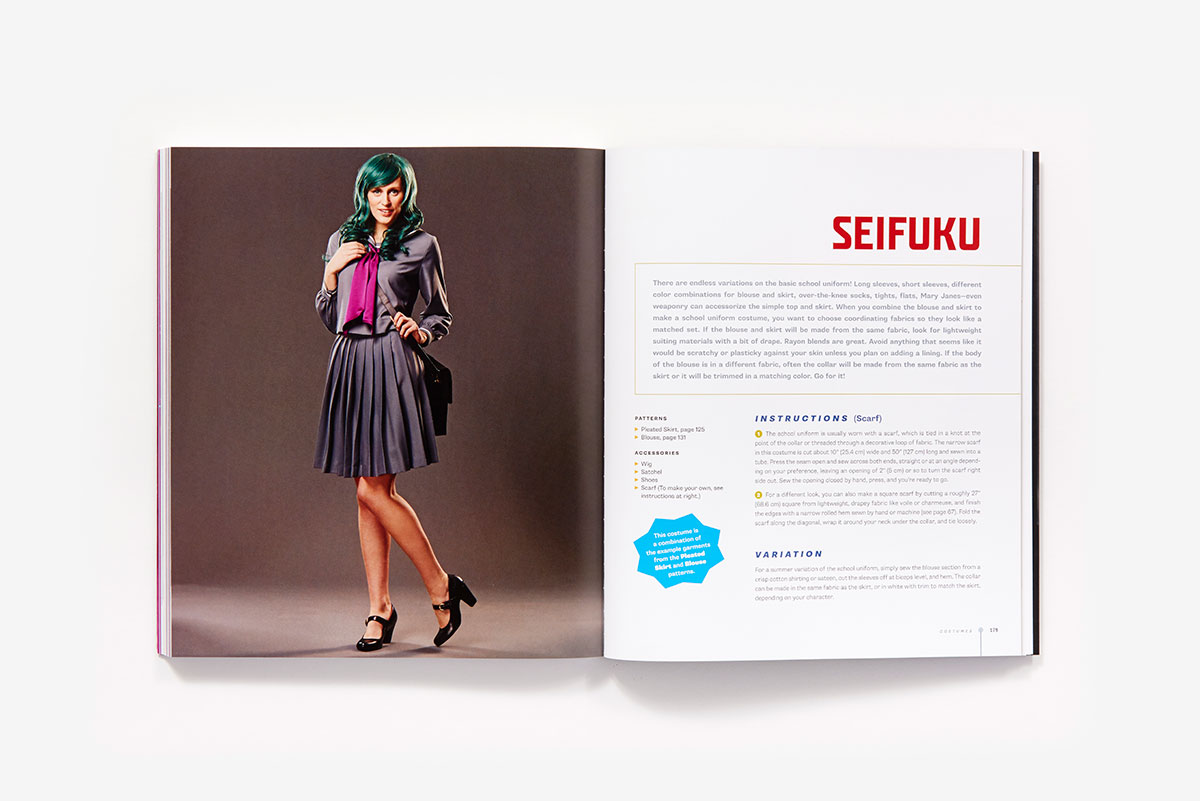
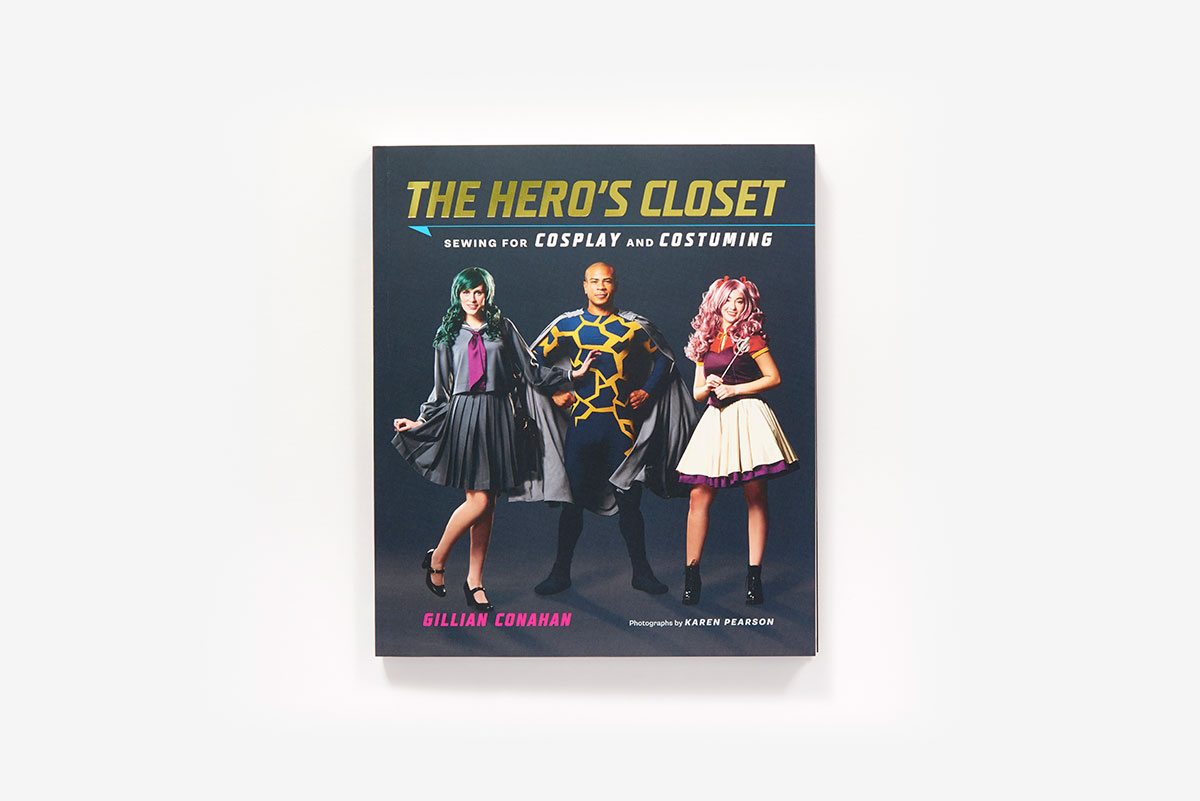
The reasons that Vogue Patterns editor-in-chief Gillian Conahan gives to cosplayers, performers, and even once-a-year Halloween costume shoppers for learning how to sew (even a little bit) are the kind that we always champion at ABRAMS Craft, but they’re all the more important for those creative souls whose dream projects aren’t just hard to find at the mall—but pure fantasy. Her book The Hero’s Closet: Sewing for Cosplay and Costuming is on sale as of last week!

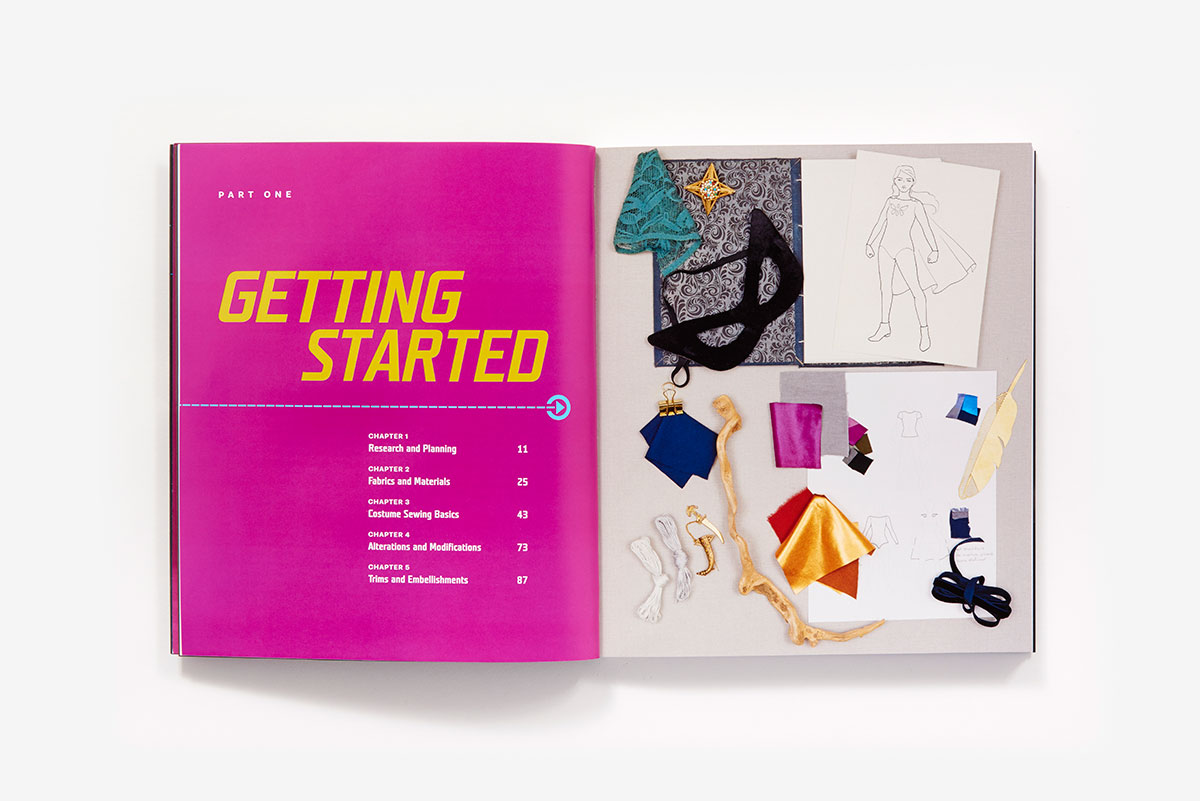
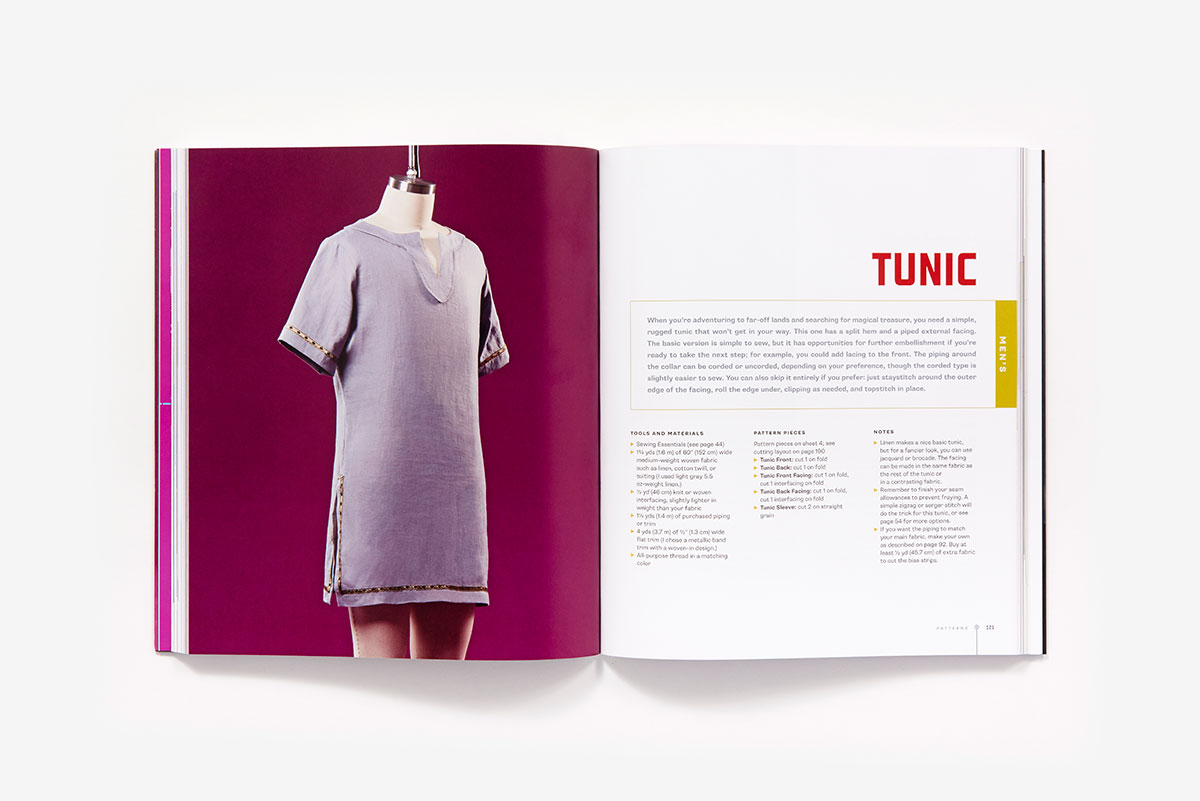
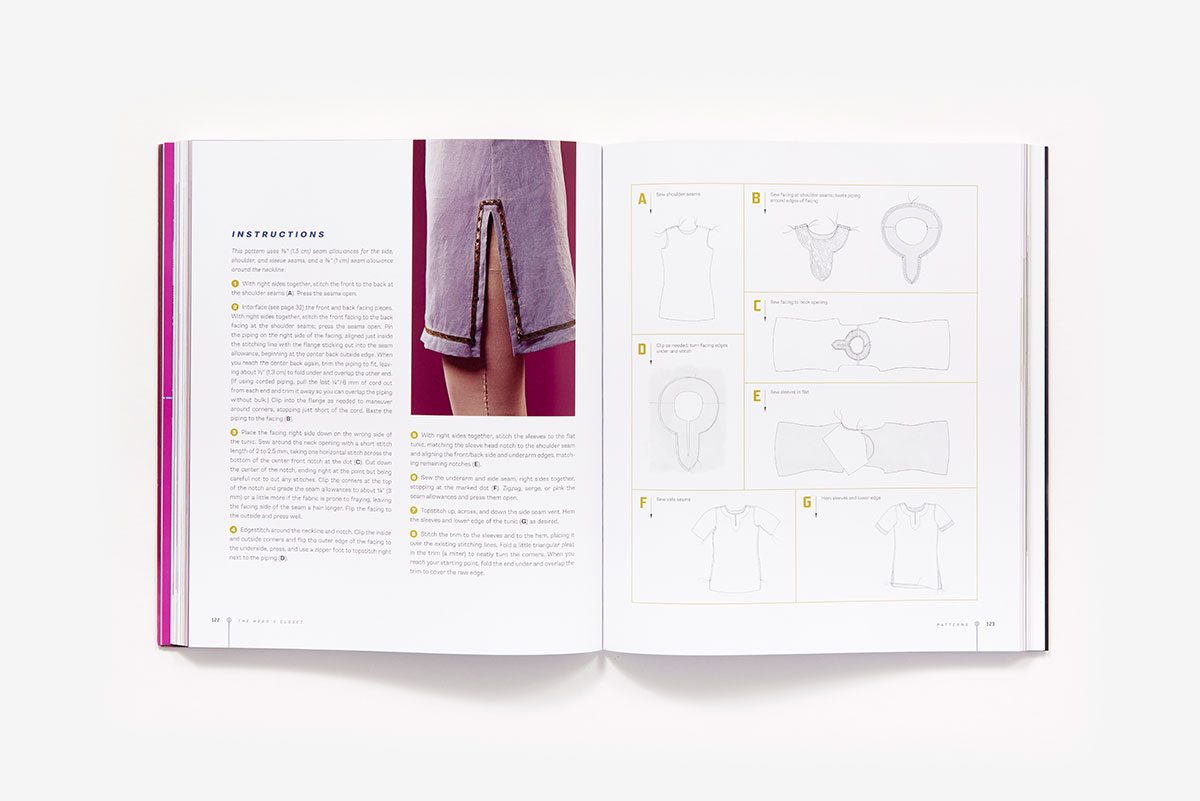
The Hero’s Closet is a practical introduction for anyone who wants to forget about generic, store-bought costumes, including a complete primer on sewing technique, plus patterns for 11 basic pieces that can be combined, altered, and adapted into 9 full-blown costumes. Will James at GeekDad calls the “Getting Started” section “worth the price of admission alone,” but even an advanced sewist might be surprised by sensible advice like Conahan’s for dealing with fake fur: “it should be cut from the back side using a razor blade or craft knife so you don’t cut the pile, which will help to minimize the fluffsplosion.”

In this excerpt from The Hero’s Closet you’ll learn to create a “luxuriously swishy” cape with stacked box pleats at the shoulders. It connects to your outfit with snaps, so you can “swiftly detach in the event of an emergency.”

Cape

Cape

Excerpted from The Hero’s Closet

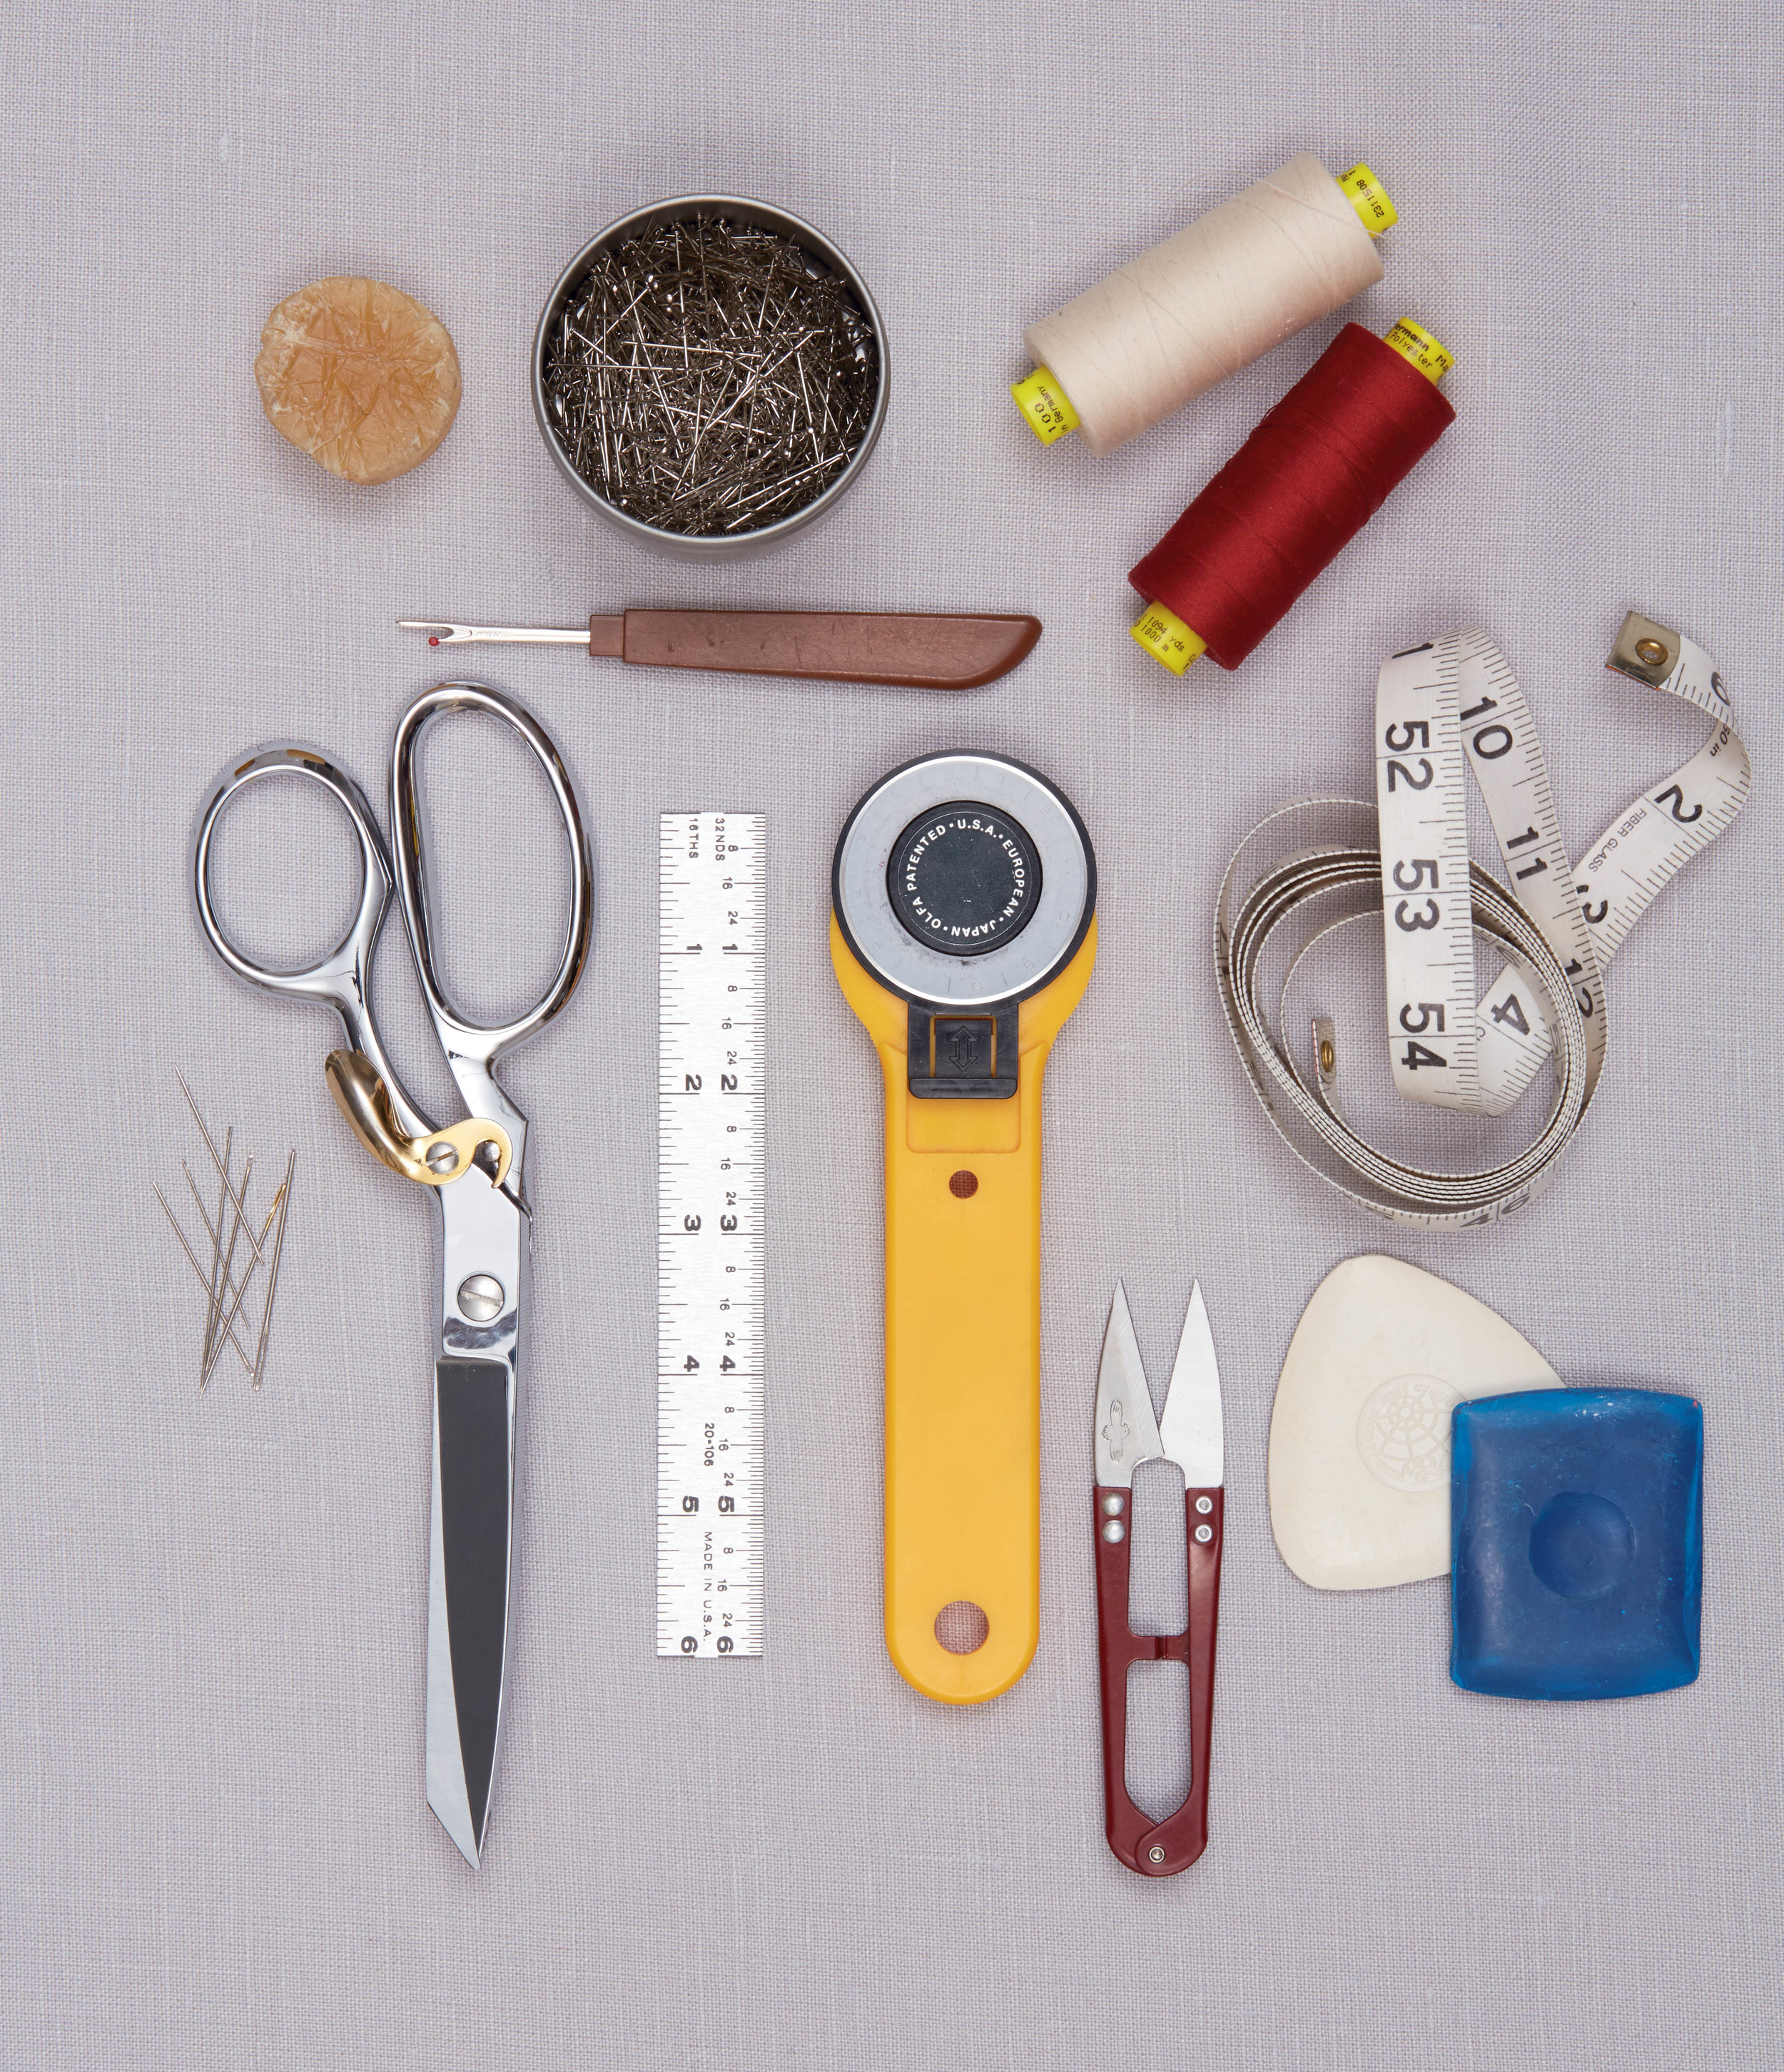
TOOLS AND MATERIALS

Sewing essentials
  • Sewing Essentials (see above)
  • Lightweight fabric with a soft drape, such as blouse-weight cotton, silk/cotton blends, silky polyester, charmeuse, crepe de chine, or even lining fabric—amount based on step 1 (I used 3½ yds/3.2 m of 54"/137 cm wide gray plain-woven cotton shirting.)
  • 10" (25.4 cm) of twill tape, ½" to 1" (1.3 to 2.5 cm) wide (Anything in this size range will work.)
  • 1 yd (.9 m) of bias tape, ½" (1.3 cm) single-fold (optional)
  • 6 large sew-on snaps
  • Large safety pins
  • All-purpose thread in a matching color
  • Trim or decorative medallions for the shoulders (optional)

NOTE: Choose stable fabrics that don’t stretch or fray much, and make sure that both the garment you’re attaching the cape to and your chosen fastening method can stand up to the weight of the cape. If you want to use a heavy, bulky fabric like velvet, you may need to reinforce the attachment point with interfacing or a piece of twill tape behind the snap area. If you’re attaching the cape to a stretch garment, stick with very lightweight fabrics for the cape to avoid straining the fabric.

PATTERN

Download the cape pattern at the link above. Fold the fabric widthwise and cut 1 on the fold; see steps 2 and 3 for details.

INSTRUCTIONS

⅜" (1 cm) seam allowances are used for this pattern.

1. Begin by determining how much yardage you need to buy for your cape. The amount of fabric required will be twice your finished length + your shoulder width (measured across your back) + 16" (40.6 cm) for shoulder extensions and hem allowance. Excess width will fall into draped folds down your back, so if you like that look, feel free to exaggerate it by adding even more width to your shoulder width measurement. (Because the pattern is cut on the fold, any adjustment in the measurement should be halved when placing the template.) The maximum cape length will be the width of the fabric minus 9" (22.9 cm) unless you want to add a seam; for a long cape, make sure you’re buying a sufficiently wide fabric. For this cape, 3½ yds (3.2 m) of 54"- (137 cm-) wide fabric was used, based on a finished length of 45" (114 cm) and a shoulder width of 16" (40.6 cm).

2. Fold the fabric along the cross grain, aligning the selvages. Place the cape template at the top of the folded edge, making sure to place the half-shoulder width mark at the appropriate distance from the fold. (Compare your shoulder width to the bar on the cape template to determine where to place the template on your fabric.) Use the pleat lines as a guide to extend the cape to the desired length, adding the same amount onto the end of each pleat line and at the center back (A).

A.jpg


3. Connect the marks into a smooth curve to create the hemline of your cape. Cut along the hem curve, around the top edge of the cape template, and parallel to the selvages for the straight front edge (it’s best to trim the selvages off as they’re more tightly woven than the rest of the cape and may pull or ripple). If there is a gap at the center back neckline, simply cut straight across to the fold. Mark the pleat positions with small snips in the seam allowance.

4. Sew a narrow or double-fold hem (see page 67) on the two straight front edges of the cape. Finish the curved neckline edge with a narrow bias facing, as shown on page 65 (B). The facing used here is a bias strip (see page 66) cut out of leftover cape fabric that is 1" (2.5 cm) wide and stitched on with a ⅜" (1 cm) seam allowance.

B.jpg

5. Use the snips you made in step 3 and the center notch as a general guide to form the pleats on each shoulder. Arrange the pleats to your liking and pin in place (C). For example, you may want to make the pleats shallower or deeper to adjust the amount of shoulder coverage. Make sure both sides match.

6. Place a 5" (12.7 cm) strip of twill tape on top of the end of the pleats on the right side of the fabric as shown in (D). Sew in place along the upper edge of the tape.

7. Wrap the ends of the twill tape around the edges and fold to the underside. Stitch around the edges of the tape through all layers. Attach the male side of the snaps to the twill tape (E) and the female side to the garment. Repeat steps 6 and 7 for the second shoulder.

8. Clip the shoulder pieces to a hanger and let the cape hang for a day or two so the fabric can relax. Pin the cape on a dress form or safety pin it to a helpful friend and check the length. Trim if necessary to make it nice and even and sew a narrow double-fold hem around the long curved edge (F). If you like, attach trim or decorative medallions to hide the shoulder ends.

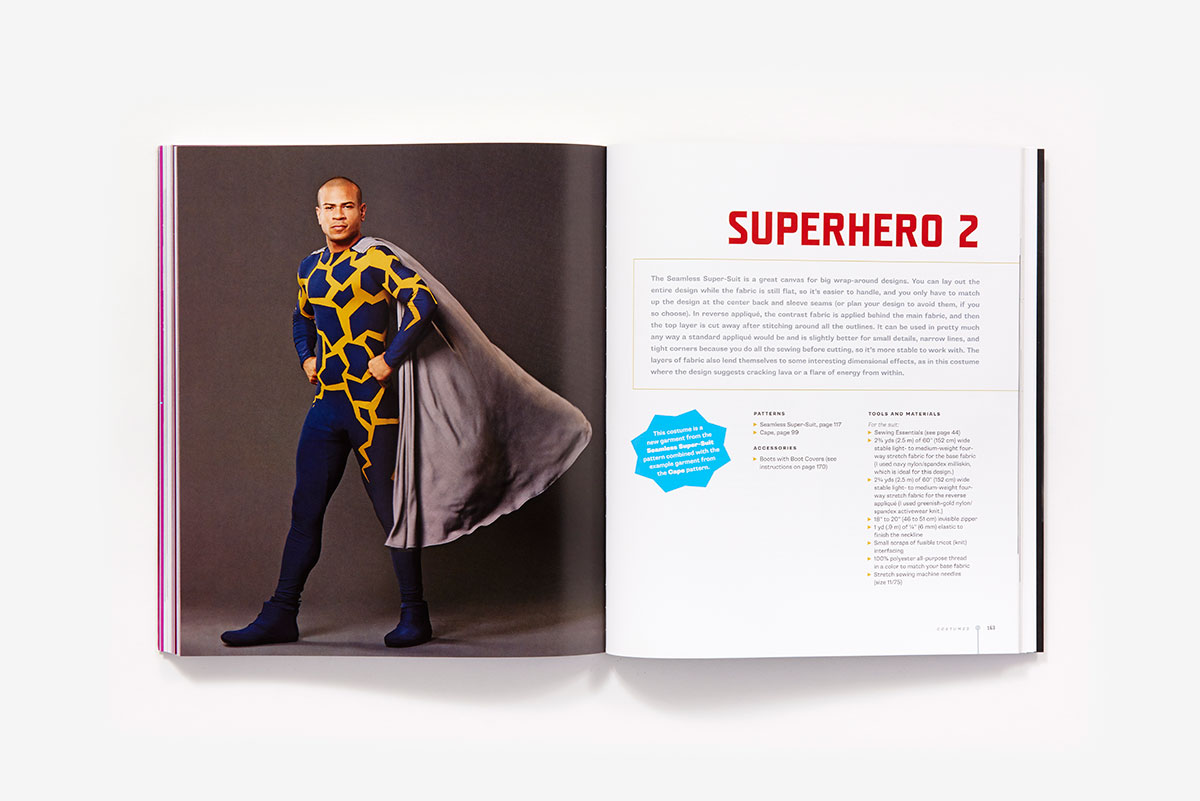
To see the finished cape in action as part of Conahan’s “Superhero 2” costume, browse a sample of The Hero’s Closet below. Be sure to check back here at ABRAMS Craft for news on Gillian Conahan’s appearance at New York Comic Con this fall. 
Spring Chickens and A Knitter's Home Companion

Michelle Edwards, author of A Knitter's Home Companion, lives in Iowa City. Like many crafters, she finds inspiration in her everyday surroundings. The idea to knit chicken egg warmers was hatched during one of her visits to Fae Ridge, a nearby fiber farm beloved by local yarn enthusiasts.

Of all the projects in her book, Michelle's chicken egg warmers might be the gosh-darn cutest. Boldly colored, with bright eyes and tiny beaks, these wooly birds make for playful guests at any breakfast table. 

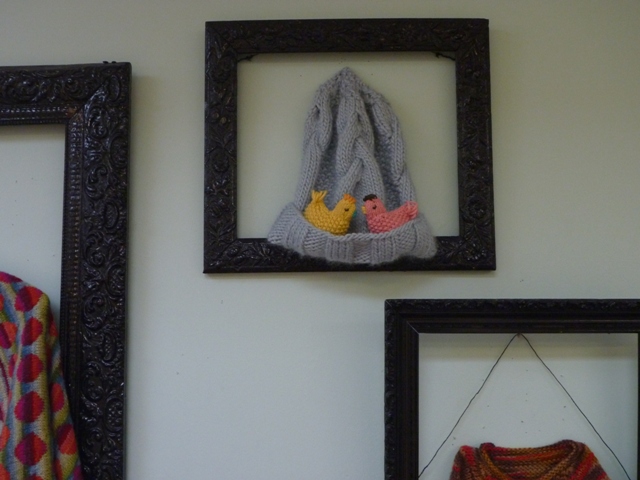
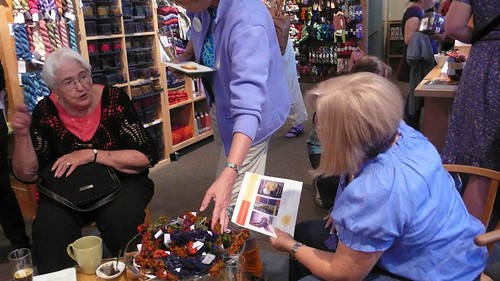
And elsewhere. To celebrate the release of A Knitter's Home Companion, Iowa City craft shop Home Ec. is decorated with a brood of chickens made by local knitters.

What a wonderful way to be welcomed to the neighborhood.

Wishing you a beautiful weekend,

The STC Craft Team

Erica's Painting


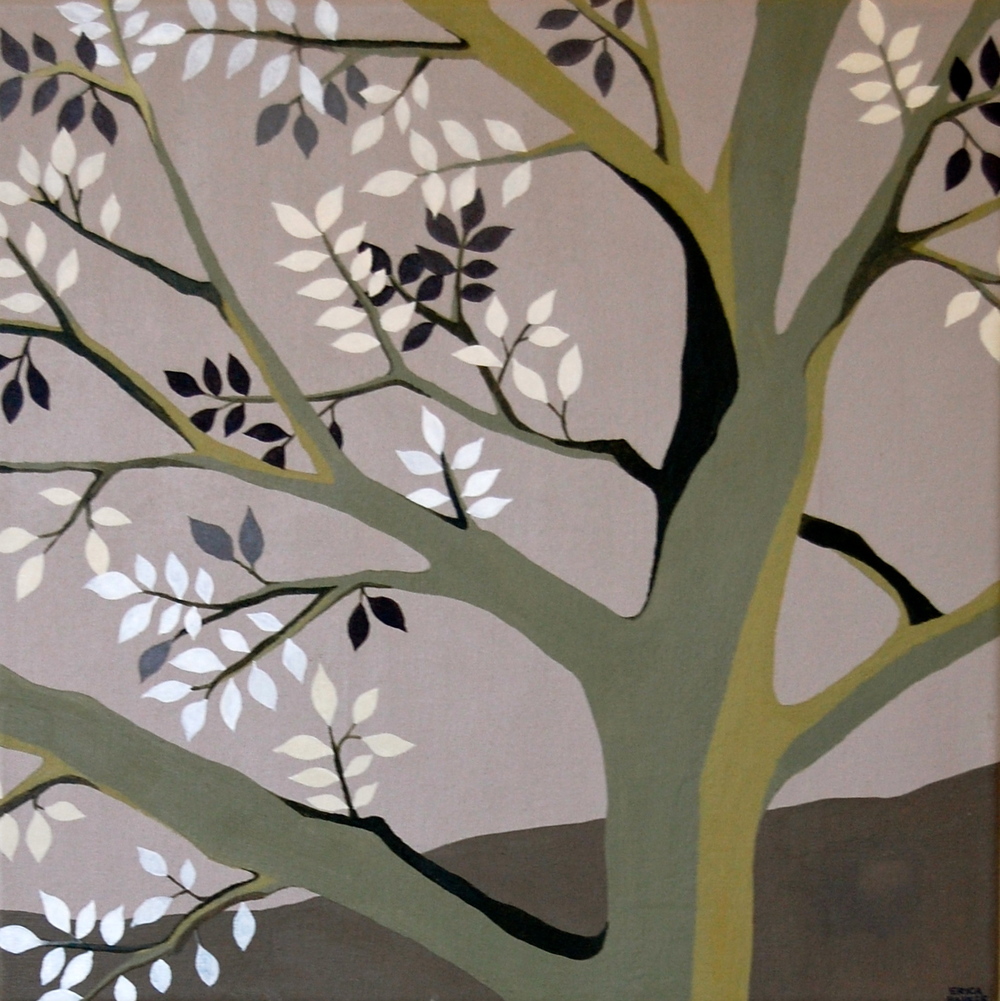
One day last December, after my husband and I agreed that we weren't going to exchange holiday gifts, my husband announced that he had changed his mind--he really wanted to give me something beautiful, something special. He asked if I would go shopping with him so he could get some ideas of what I would like. I couldn't turn him down (he was being so incredibly kind), but I was worried as we began walking down Main Street in Beacon, where we live.  I kept on thinking--there are a lot of beautiful things in the stores here, but I really don't want any of them. How am I going to handle this?  And then I remembered Erica Hauser's paintings. Erica is an artist who lives here in Beacon. She is super nice (among many other kindnesses, she lent me her green bicycle for the Sewing Green photo shoot) and super talented. I have always loved her work and desired one of her paintings. So, that's what I suggested to my husband. I asked him to call Erica and talk to her about a commission and then surprise me. In January she came to our house and presented me with the beautiful painting above. I treasure it because it holds both Erica's magical artistry and an expression of my husband's love for me. 

This afternoon, while I was planning this blog post (a painting of a tree beginning to bloom to celebrate the beginning of spring), I heard a little bing on my computer, indicating that I had received an email. It was an announcement from Erica that she is trying to raise money for an artist residency in New Mexico via Kickstarter. Although I'm worried that Erica will love New Mexico so much that she won't want to come back to New York, I want to support her in this opportunity. To learn more about what she is doing, click here. And to see a portfolio of her work, click here.

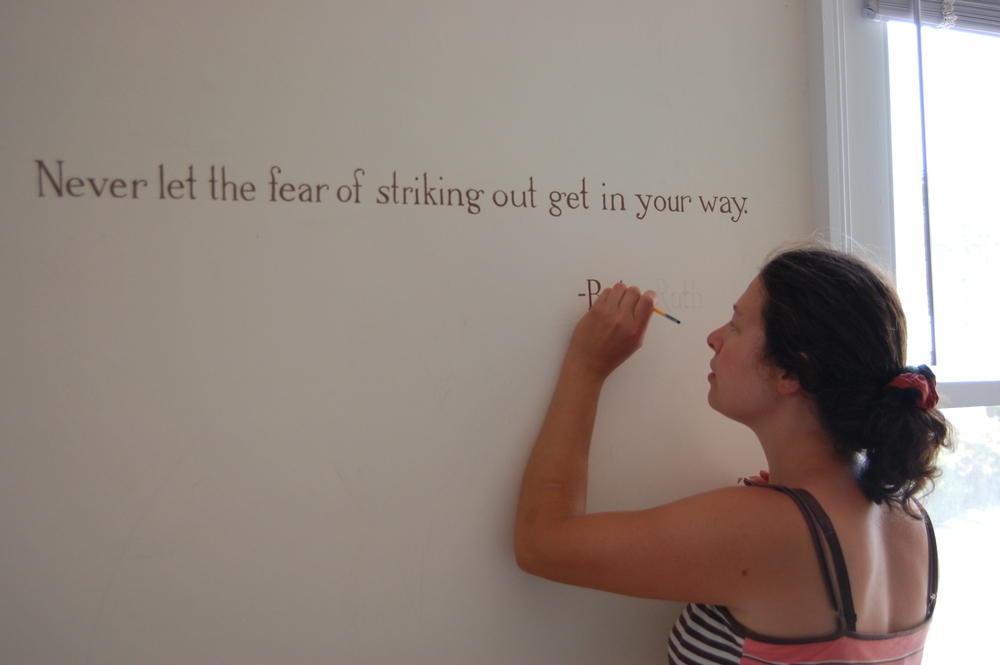
Here she is painting (freehand!) a Babe Ruth quote on the wall in my son's bedroom a few years ago. 

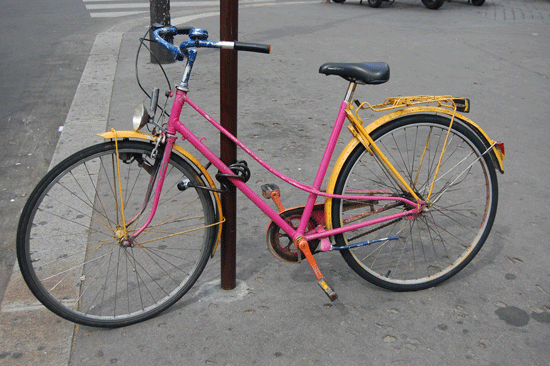
And this is her bike in a photo from Sewing Green. (To see Erica's painting of the bike, click here.) Although that's not Erica in the photo, it could be. I see her riding her bike around Beacon often.


Good luck, Erica! (Don't miss La Lana Wools in Taos.)


STC Craft - On Our Way

It wasn't exactly planned, but we ended up taking a break from blogging here for a little while. We're back and we have a lot of news to share but before we get into that, I feel compelled to show you this photo of a beautiful bike I saw in Paris last week. It's not quite like the ones the Tour de France competitors were riding, but it caught my eye. I wonder who it belongs to and what she (he?) is like. What do you think?

Design for a Living World

This video is part of the Design for a Living World exhibition on view at the Cooper-Hewitt Museum in New York City until January 4, 2010. Christien Meindertsma, featured in the video, is one of ten designers commissioned to develop new uses for sustainably grown and harvested materials in order to tell a unique story about the life-cycle of materials and the power of conservation and design. I find the video and Meindertsma's work (see more here) captivating.

Quilting for Peace Campaign

To celebrate the publication of Quilting for Peace by Katherine Bell and to, hopefully, help to spread some goodness, we are happy to be launching our new Quilting for Peace Campaign. To find out all about it, click on our Quilting for Peace widget at left. Whether you're new to quilting or an experienced quilter or don't quilt at all (yet) but are curious, please check it out.

"How wonderful it is that nobody need wait a single moment before starting to improve the world." ---Anne Frank

Leslie H Reports from Sock Summit 09

I'm sure you've all heard by now (you who are knitters, crocheters, sock fetishists, or merely curious Portlanders wondering who the heck was cramming up the Voodoo Donuts line) the sighs and fond reminiscing about the first-ever Sock Summit in Portland, Oregon, the weekend before last. Even while vacationing, way up in the mountains on Peak #7, the following week, I heard the reverberations of that once-fabled Sock Summt, where socks from far and wide came to mix and mingle, share deep thoughts, and seek beautiful new patterns.

And, of course, to boldly go where no socks have gone...

Oh, who am I kidding? It was all about the donuts for some knitters. Here is Amanda from Lorna's Laces, with Natalia Apple of the  Purls Beyond Price blog, noshing on what looks like a Fruit Loop donut and maybe just a chocolate-glazed.

Let's contemplate the maple bacon donut...which I, fair-weather vegetarian, bit into, only to feel both joy and pain in a single delicious moment.

But nevermind the donuts, no full Sock Summit day could've been started without a deliciously smooth cup of Portland's finest brew, and so I started out my mornings religiously at the counter of Red Square Cafe. Thanks to our amply stocked supply closet back at the office, I also left them with a few packages of our Greetings from Knit Cafe coffee sleeves. I got around to a few other hip spots as well...

...including Powell's Bookstore cafe, and even the Convention Center's Starbucks. Cha-ching!

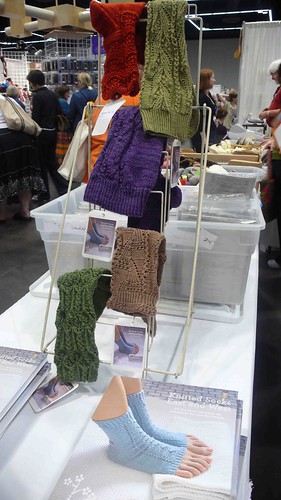
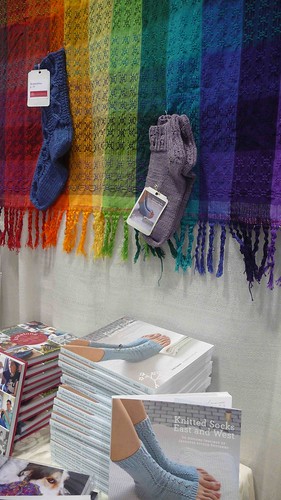
Mmm, now that we're fueled to the max on virtual sugar and coffee, let's have a look at some of the beautiful booths (and booth people) who helped us sell our STC Craft creations: the brand-new Knitted Socks East and West by Judy Sumner (displayed with samples of the socks , which folks just loved!), and the STC Craft classic-to-be, Knitalong, by Portland gal Larissa Brown.

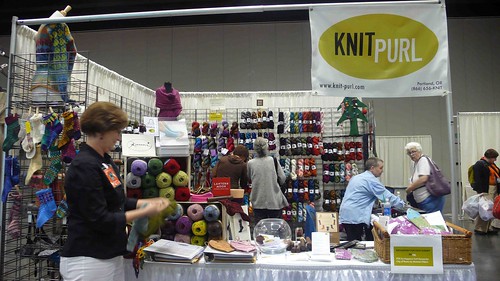
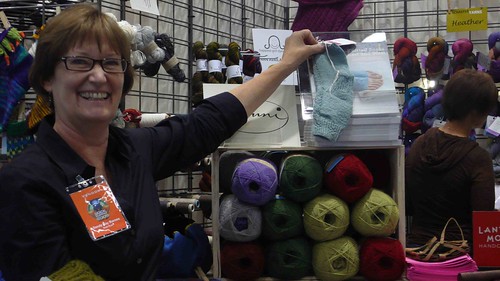
Thanks to the wonderful Sandy Kay of Knit Purl...

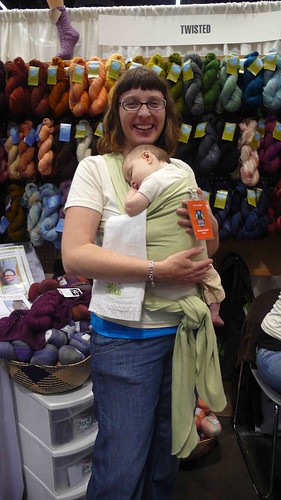
...the lovely (and lucky) Shannon of Twisted...

...John (way back there selling!) of Village Spinning and Weaving...

...Dawn and pal of Fiber Rhythm Craft and Design...

...the folks at the Cherry Tree Hill Yarn booth,and Lisa of the popular Lisa Souza Knitwear and Dyeworks booth, where Judy Sumner spent most of her Marketplace hours.

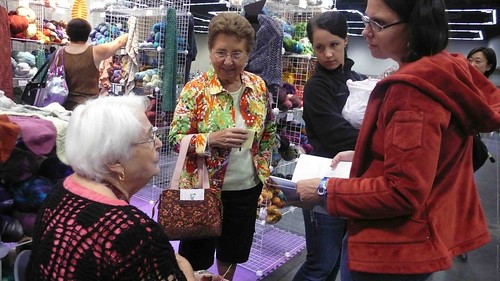
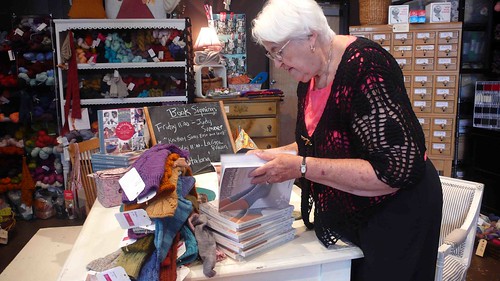
Our books and authors got out to the knitting shops around town as well. Here's Judy Sumner signing stock at the lovely Close Knit (while the talented Nancy of the blog Getting Purly With It winds yarn and shows off her handknitted flowers)...

...and here's Judy enjoying conversation at the local designers party at Knit Purl.

Local STC Crafters Leigh Radford (One More Skein, AlterKnits, and AlterKnits Felt) and Larissa Brown (Knitalong) enjoy the party with friends...

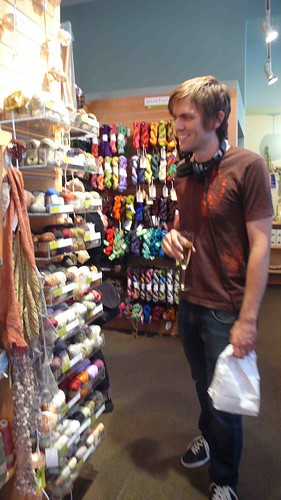
...and (yay!) even a random cute boy gets lured into the mix!

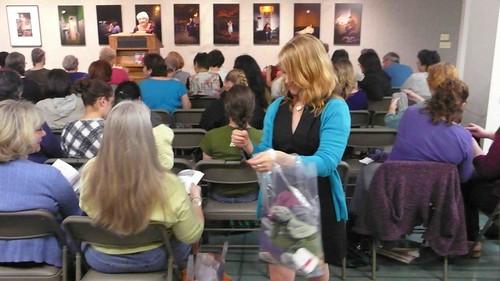
Next highlight of the night...this crowd at Powell's Books' "A Night For Knitters"! Around 80 people!

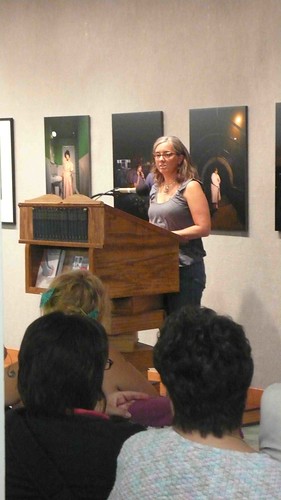
Judy was a natural on the stage! Inciting laughter, curiosity, and even sympathetic awww's when she talked about having to reknit some socks because of color issues. Of course, the crowd also loved looking at the socks from the book closeup.

Larissa Brown got a chance to talk about her book, and her fundraiser for Doctors Without Borders, the Knitalong Barn Raising Quilt Raffle, which ended up raising $600 (here are a couple of the gorgeous quilts, hanging out with Larissa at the Sock Summit author signing earlier that day).

By the time the authors finally finished with the line (and signing the massive amount of stock piled up for them), it was nearly time for bed...and for dreams of the next morning's Barbara Walker lecture. Now, I really didn't know much about Barbara Walker before this trip (I'm pretty new to knitting), so I just sort of expected to be sitting there politely, trying to stay awake while knitting my first sock ever. But seriously! This woman is hilarious and super-engaging, and she's done everything! Modern dance! Square dance! Feminist writings! Tarot card designs! And I so want to read her book The Woman's Encyclopedia of Myths and Secrets.

Well inspired, Judy and I headed off to Knit Purl once again, for Judy's Japanese sock technique classes, where everyone had a blast!

After such a busy two days, it was back to the hotel for Judy, who was finally feeling the effects of nonstop hobnobbing! I headed back to the convention to take random pics of this curious yarn culture!

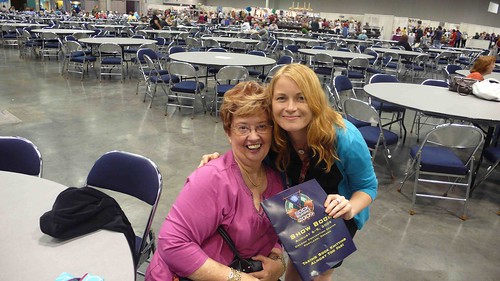
Oh, and here are some crazy people posing with me. They claim to be my parents.

No, really, my folks surprised me and hopped a plane from Sacramento to Portland! Somehow they wrangled their way into the Marketplace, which they quite enjoyed! My mom bought giant glitter needles even though she doesn't knit, and my dad stood around commenting on the funny knitted hat/wigs he saw.

Eventually the parental units left to go dine at some place called Burgerville, and I moved on to the Ravelry party! I was pretty beat by this point, but I spread some STC Craft love about, and took in the awesome site of hundreds and hundreds of Ravelrers moving and shaking (and of course, knitting and crocheting) and winning raffle prizes from the fun-loving Ravelry mavens.

Sunday! Last day of the Sock Summit, and I got to experience the Luminary Panel. Did you know that Barbara Walker invented SSK? Did I know what SSK was? No. I've since learned that it stands for slip slip knit, and it's a way of decreasing and making your sock or whatever get narrower. One day I'll SSK like the best of them here: Cat Bordhi, Nancy Bush, Priscilla Gibson-Roberts, Judith MacKenzie-McCuin, Lucy Neatby, Deborah Robson, Meg Swansen, Barbara Walker, Anna Zilboorg.

Look! A Luminary attendee is covering up with the Knitalong quilt they won. Nice! (Thanks to Mary-Heather of Rainy Day Goods for this great pic!)

And the closing ceremony cake? Well, I ran away before I could get near it. Toooo many dooonuuuts!!!!

Aside from all the extra calories and caffeine, this Sock Summit was an amazing endeavor and a fantastic success. I, for one, am really looking forward to next year's summit, where we will "sock it to 'em!" yet again. Thanks for reading!


Knitalong Barn Raising Quilt Fundraiser

(Photo by Michael Crouser from Knitalong)

Larissa Brown, co-author of Knitalong: Celebrating the Tradition of Knitting Together, has organized a wonderful fundraiser for Doctors without Borders. To participate, all you need to do is knit one sqaure (or more if you like) of the Barn Raising Quilt (shown above) and send it (them) to Larissa by June 9. A team of volunteers will join all of the squares she receives and then auction or raffle off the finished quilts during the Sock Summit in August.  For more information about the fundraiser (including the pattern--if you don't have the book--and a mailing address for the squares), click here.

Thanks, Jane

Hyacinths-for-Blogs-2.jpg 
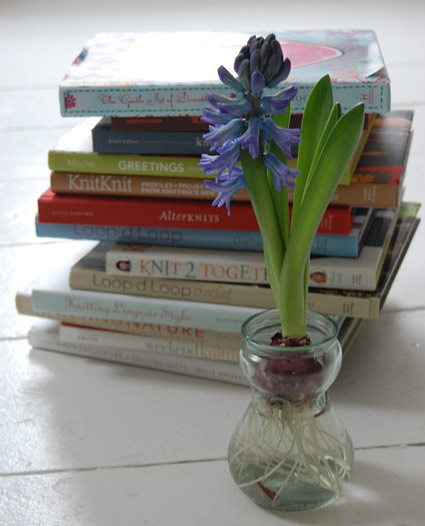
Isn't this hyacinth pretty! I am absolutely fascinated by it. I was inspired to learn how to force hyacinths in water after seeing Jane Brocket's photos of her hyacinths on her blog yarnstorm and in her book The Gentle Art of Domesticity. Jane's book was published in England (where she lives) a few months ago and, I am happy to report, STC will be publishing it in the United States next fall. Thanks, Jane, for teaching me about hyacinths and for trusting STC with your book. (And thanks, Suzan, for insisting I check out Jane's blog in the first place.)
Knitting on NPR

knitknit_pg22-425-pixels.jpg

Yesterday morning Sabrina Gschwandtner, author of KnitKnit: Profiles & Projects from Knitting's New Wave, was interviewed on on NPR's The Bryant Park Project. Click here to listen to the interview and see the audio slide show. Sabrina talks to the hosts about her book, the many forms knitting can take (including graffiti, protest, and art); historic and current wartime knitting; knitting and community; and more. Photo above of Isabel Berglund's "City of Stitches" from Sabrina's book.

Sheep as Inspiration for Art

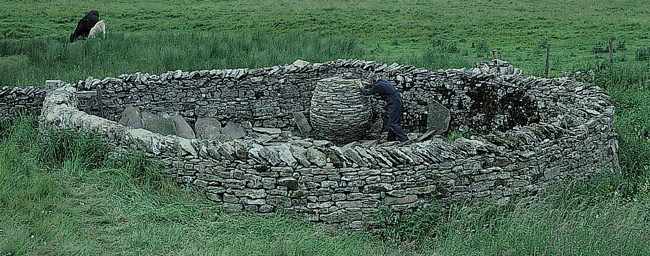
As a knitter, I have developed a deep appreciation for sheep. How could I not, considering all of the beautiful fiber they so generously share with us year after year? And so I am particular intrigued by Andy Goldsworthy's new book called Enclosure. It recounts in words and photos his Sheepfolds Project, for which he restored over 40 stone enclosures once used by farmers to shelter, count, and wash their sheep in six districts of Cumbria. In the introduction to the book, James Putnam explains: "Sheepfolds are beautiful and graphic reminders of the days of early shepherding out on the hill, on common land."

E_17---650.jpg

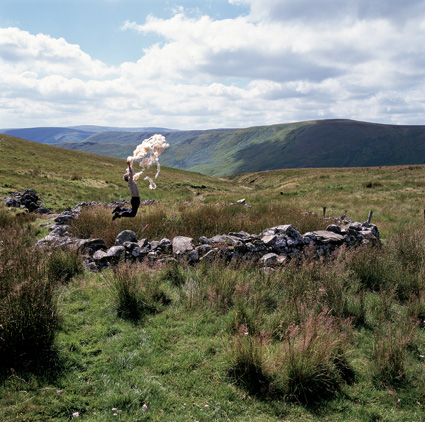
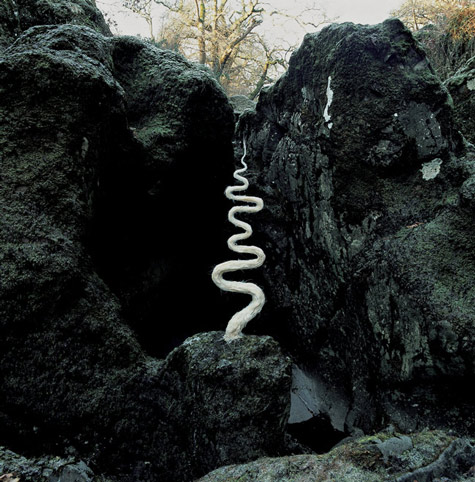
The book also includes a collection of fascinating works related in various ways to sheep, for example, this shot (part of an 8-part series called "Wool Throws") of Goldsworthy tossing wool fleece into the air.

ENC%20112.jpg 

And these works in which Goldsworthy incorporated wet (and sometimes frozen) wool into the landscape.
 
E_04----475.jpg 


E_09---475.jpg 

Beyond the Obvious

I love being surprised by people and even objects. For example, I am always fascinated when someone who initially seems rather traditional or conventional begins to reveal extraordinary ideas, or when an object looks totally different from different perspectives.


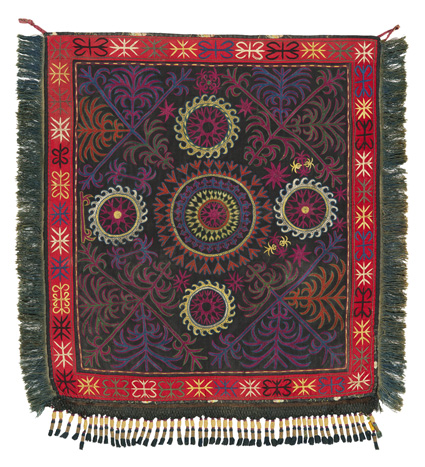
Take this felt wall hanging with silk embroidery. When I first saw it I thought it was quite beautiful, reminiscent of other early 20th-century Central Asian wall hangings I have seen.

93815_RusTex_Ch05_002.jpg

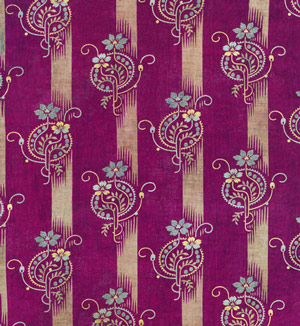
Then when I saw this backing fabric (a printed cotton cloth from Russia), I was really surprised and fascinated. I never would have imagined the front and the back together.

wall-hanging-backing-fabric.jpg 

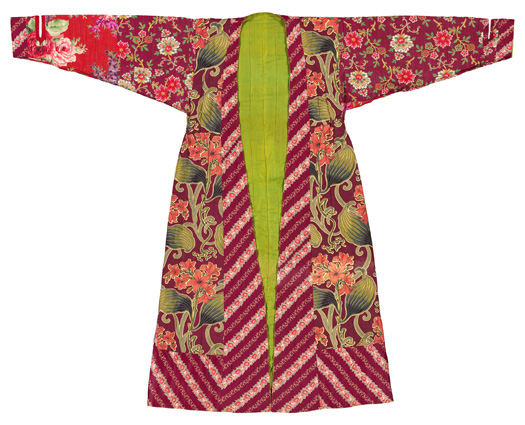
Now look at this  woman's robe. It's probably from Uzbekistan and dates back to the late 19th - early 20th century. And it's shown here inside out!  In Central Asia when this was made, it was customary to create solid-color silk robes and then line them with Russian cotton prints patchworked together. I love how extraordinary this robe is inside and out, and also the idea that the busiest and in some ways most complex part of it is actually kept rather private.

93815_RusTex_Ch03_006.jpg

So often we pay the most attention to what is obvious. Personally, I'm often more intrigued by what isn't.

 (All photos from Russian Textiles: Printed Cloths for the Bazaars of Central Asia. For more on this book, see this earlier post.)