It must be something in the air at ABRAMS but I’ve never been the recipient of so many homemade and thoughtful office gifts as I have these past few weeks leading up to our holiday closing.
By the time the mason jar of Eleven Madison Park granola appeared on my desk—following the homemade Baileys Irish cream, spiced nuts, truffles, and bottles of wine—I knew I would have to appear at the office prepared or risk imploding from all the unrealized love and gratitude I’ve carried for the faces I see every day.
Luckily, even a last-minute crafter is never really empty handed and the office is rich in inspiration in the form of a long and beautiful list of craft titles. Books are the secret friends of harried people, unlike the Internet, so I am sharing a small gift from one of ours. Last-Minute Fabric Gifts by artist and designer Cynthia Treen is helpfully organized by time commitment—from “Less-than-One-Hour Gifts” to “More-than-Three-Hour Gifts”—all clearly marked “hand-sew,” “machine-sew,” or “no-sew” at all.
The recommendation of corduroy for this little change purse is the touch that caught my eye. Any durable fabric will do, but corduroy lends itself to dozens of handsome, quirky, or workhorse variations, with a pleasant tactile quality that I can never find except in the most expensive store-bought accessories. Cynthia cuts the wale in a different direction for each purse.
Corduroy Change Purse from Last-Minute Fabric Gifts by Cynthia Treen
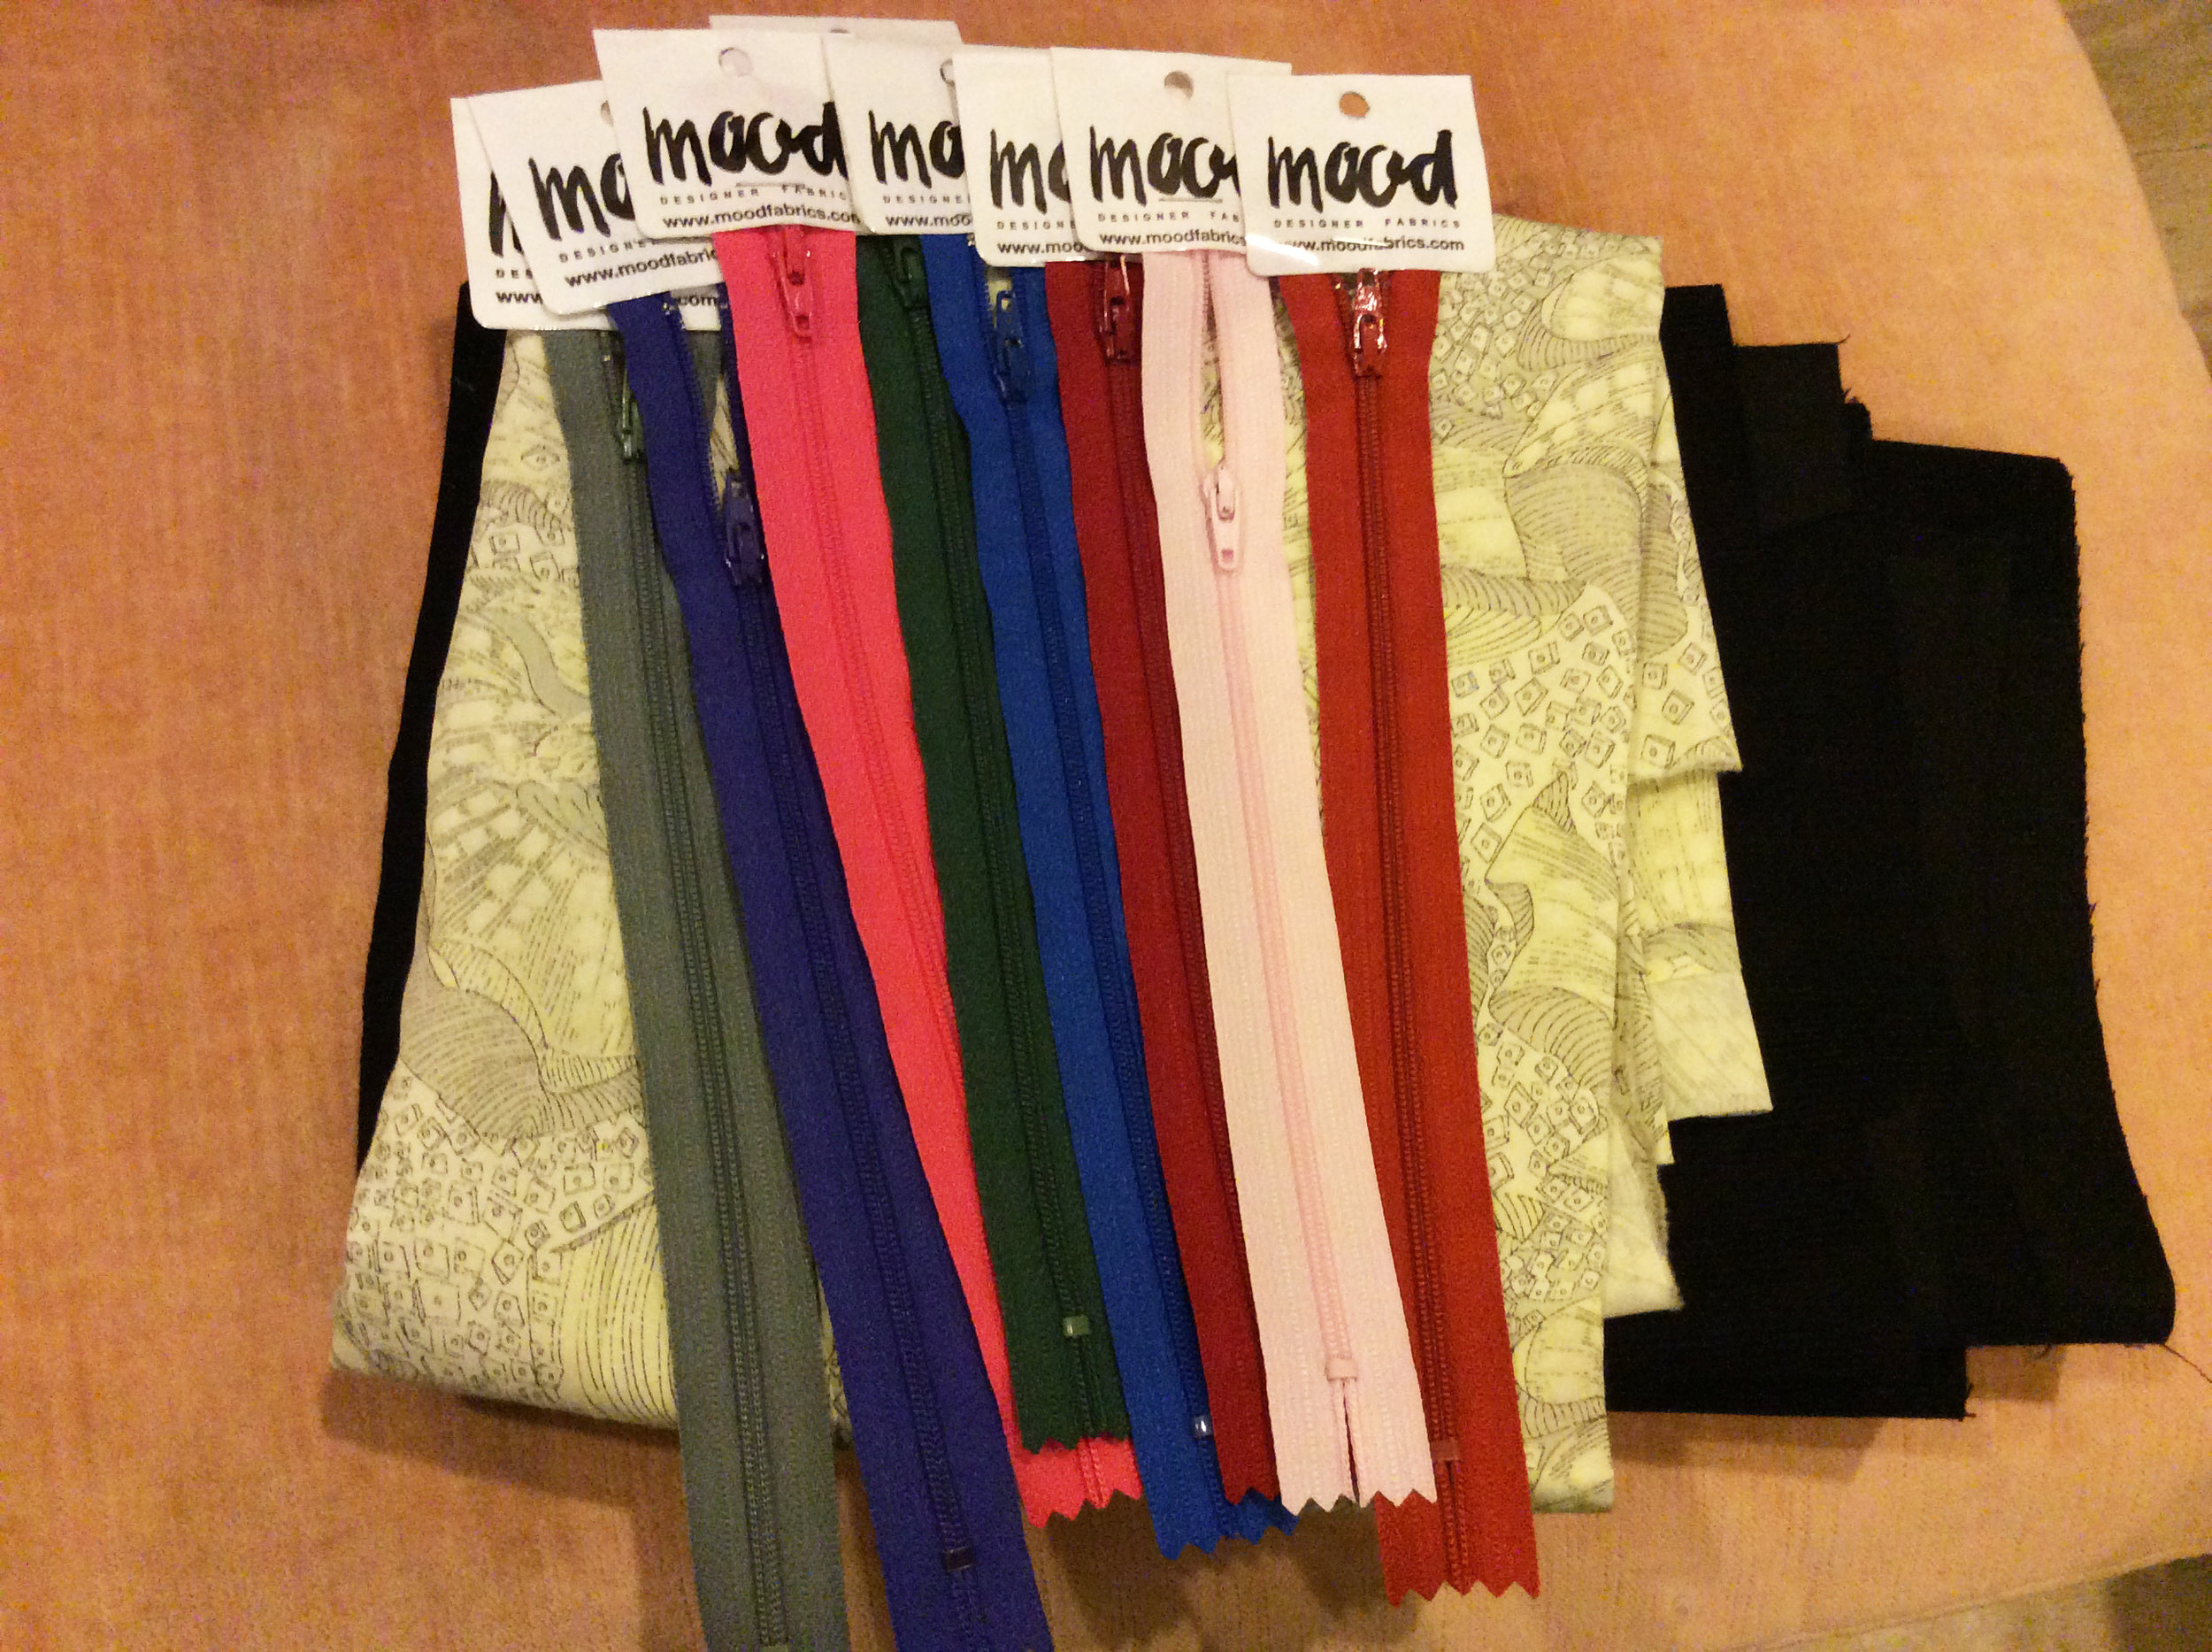
Materials
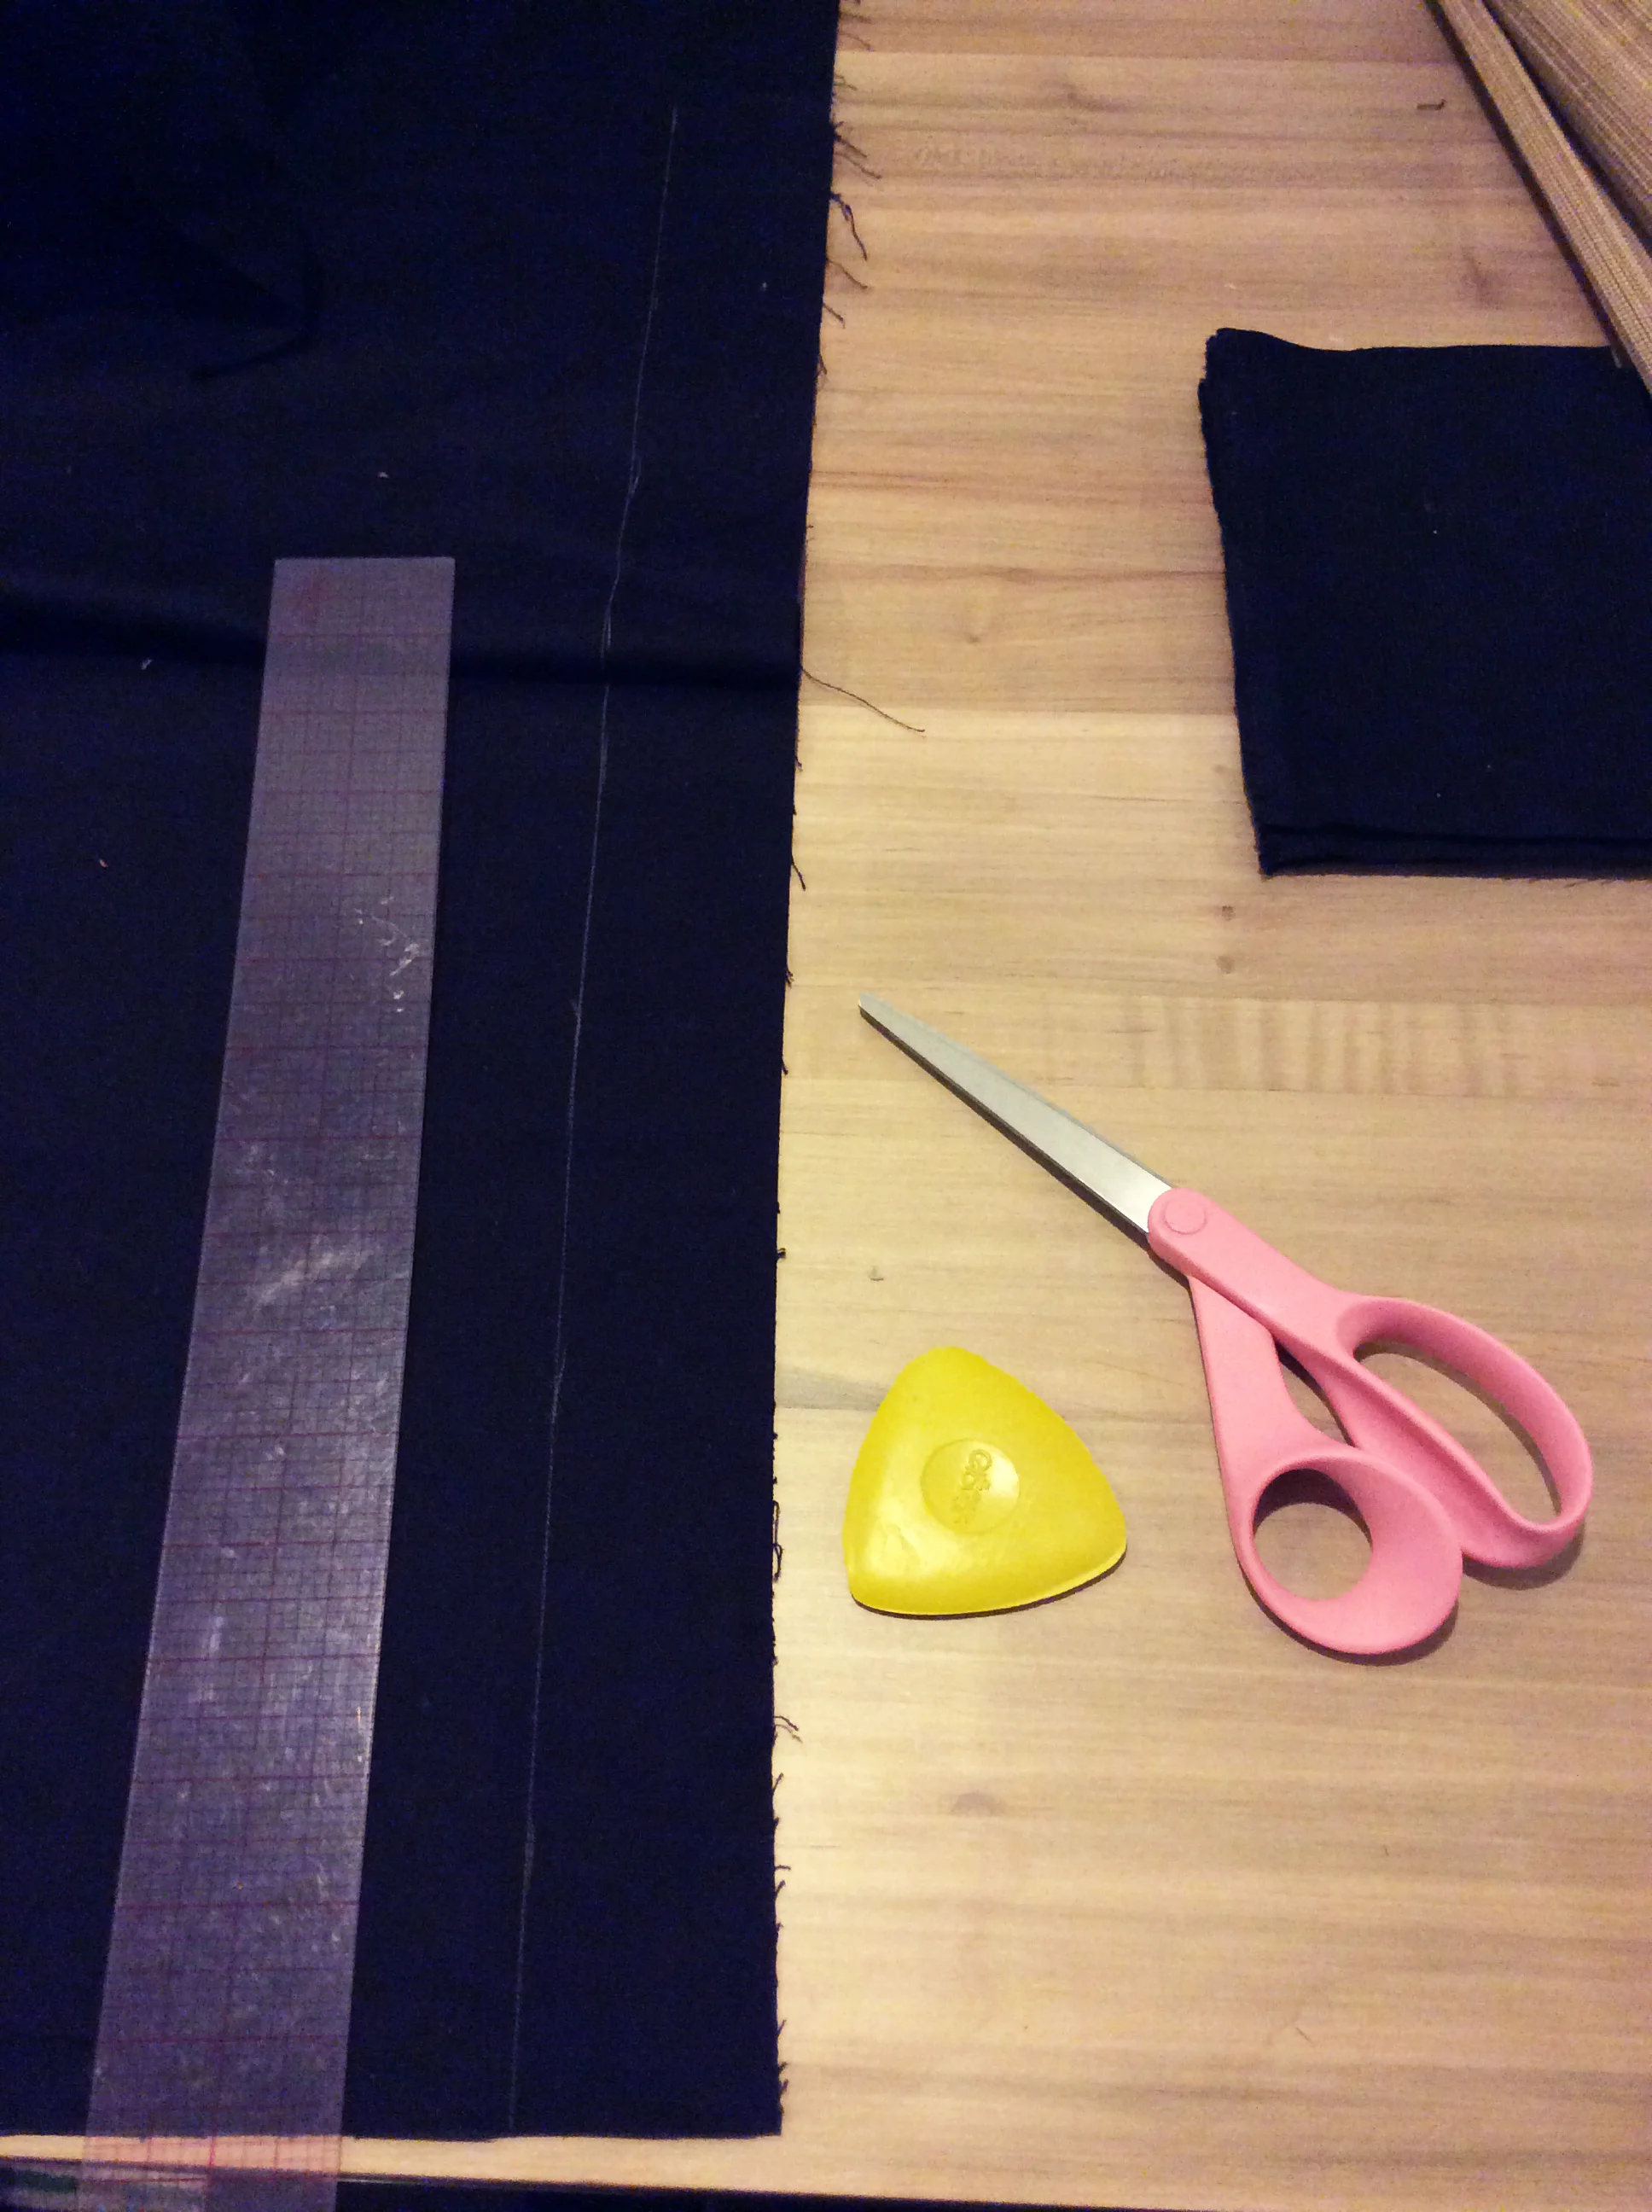
- One 5 x 5” and one 2” x 5” piece cotton corduroy
- 7” polyester, all-purpose zipper in contrasting color
- Thread to match fabric
- Fray Check (optional)
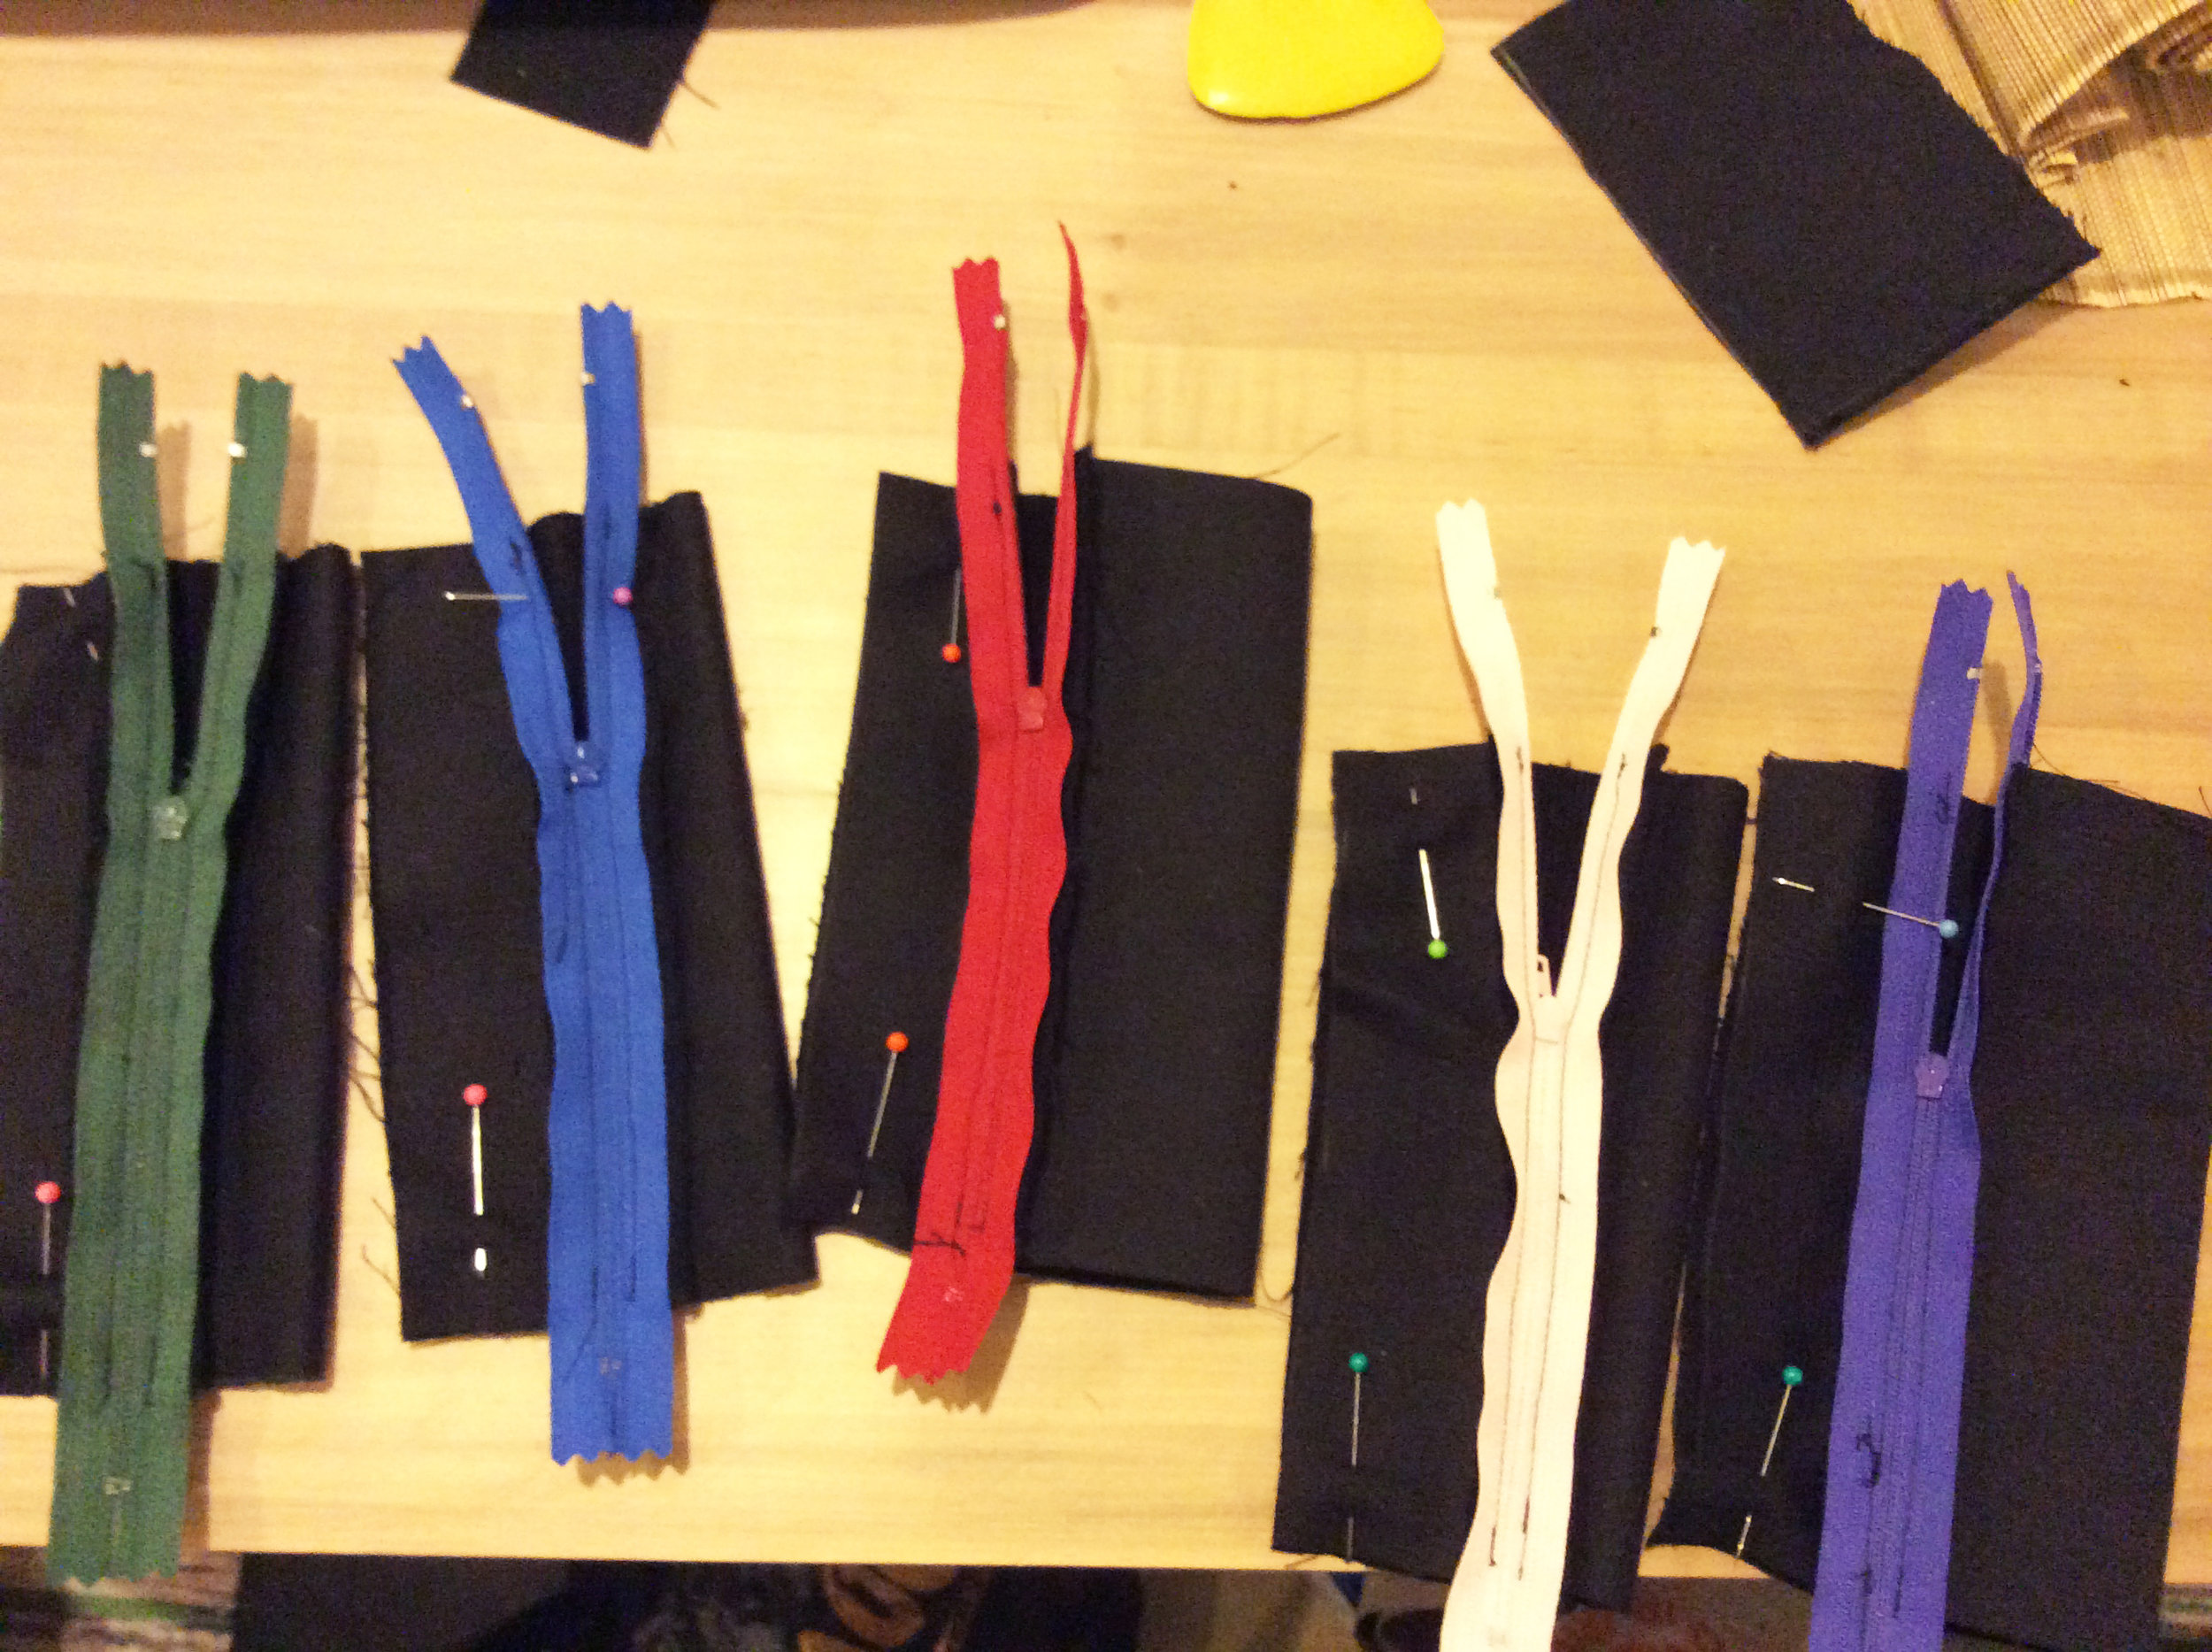
1. Lay the zipper, closed and with the back side facing up, along one of the 5” sides of the square corduroy piece. The zipper ends will overhang the edges of the fabric by about 1”. Match the zipper tape edge and the fabric edge to one another and pin the zipper in place.
2. Using a zipper foot, stitch along the zipper tape with the side of the foot resting against the teeth as you stitch (3/8” seam allowance). Because of the zipper’s extra length, the zipper pull should be out of your way the entire time you are sewing, so there is no need to open and close the zipper as you sew.
3. Splay the zipper and the fabric open so that their right sides are facing up. Lay the 5” edge of the rectangular piece of fabric, with the right side facing down, onto the unsewn side of the zipper tape. Pin the fabric to the zipper tape, matching the edges.
4. Using the zipper foot, stitch along the fabric edge with the zipper facing up under the fabric and the side of the foot resting against the teeth as you stitch.
5. Splay the fabric open to expose the zipper and press flat. Unzip the zipper partway so you will be able to turn the change purse after the front and back are stitched together.
6. With right sides together, match the two 5” ends that are parallel to the zipper and pin them together. Sew around the three cut sides with a ½” seam allowance, backstitching over both ends of the zipper as well as the beginning and end of your stitch line. Trim off the overhanging zipper ends so they are flush with the fabric edge. Trim the corners at a 45-degree angle.
7. Because the seam edges are likely to fray from the change moving around inside, secure the fibers by either making a zigzag stitch on the seam allowances or by applying a fabric adhesive (like Fray Check) to them. Turn the purse right side out and press, if necessary.


