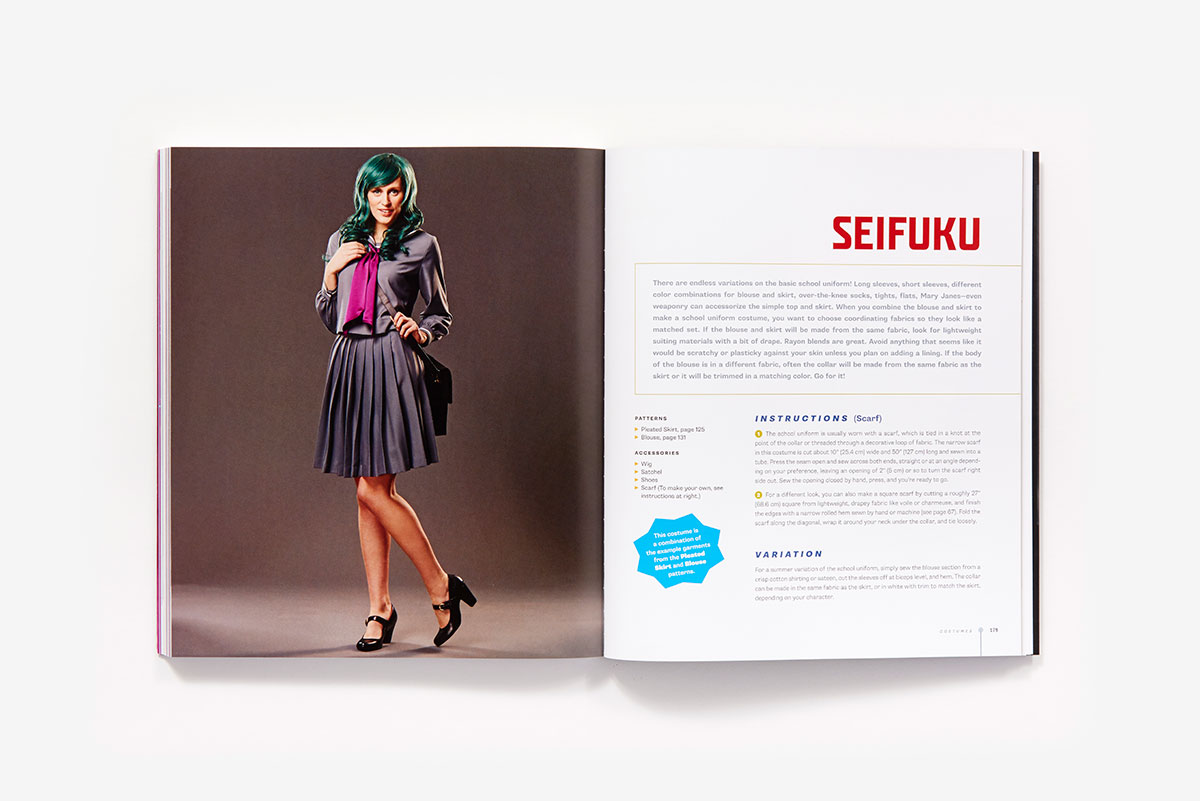
You need an item that isn’t commercially available. You want something unique. You want total control over the materials, color, style, and details. You want a custom fit. You’re on a budget. You enjoy that smug “I made this” feeling.
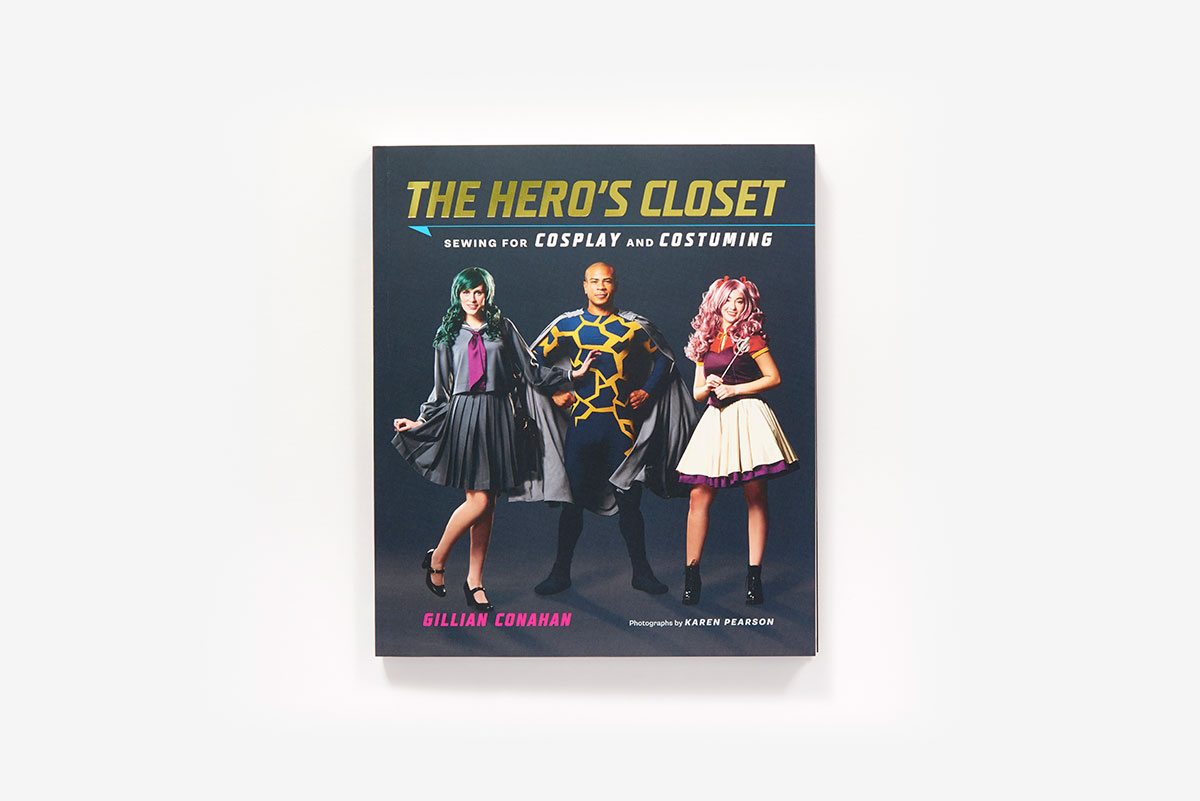
The reasons that Vogue Patterns editor-in-chief Gillian Conahan gives to cosplayers, performers, and even once-a-year Halloween costume shoppers for learning how to sew (even a little bit) are the kind that we always champion at ABRAMS Craft, but they’re all the more important for those creative souls whose dream projects aren’t just hard to find at the mall—but pure fantasy. Her book The Hero’s Closet: Sewing for Cosplay and Costuming is on sale as of last week!
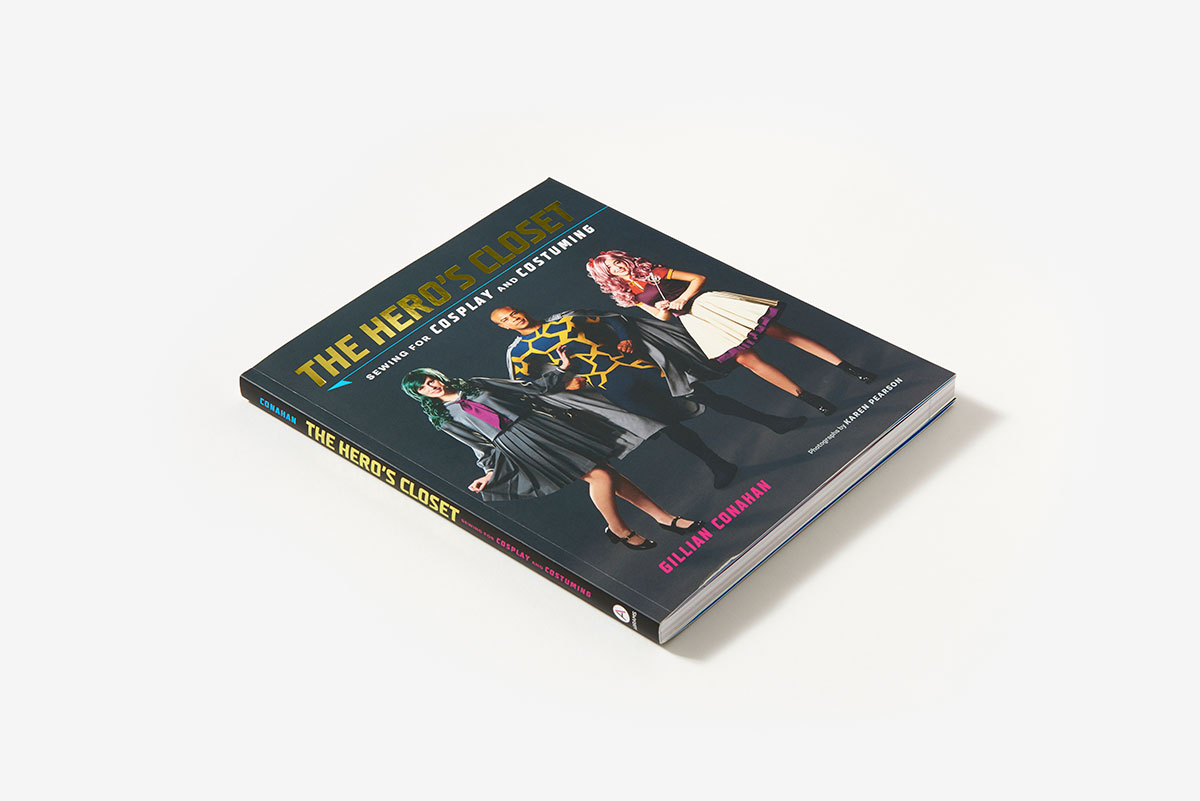
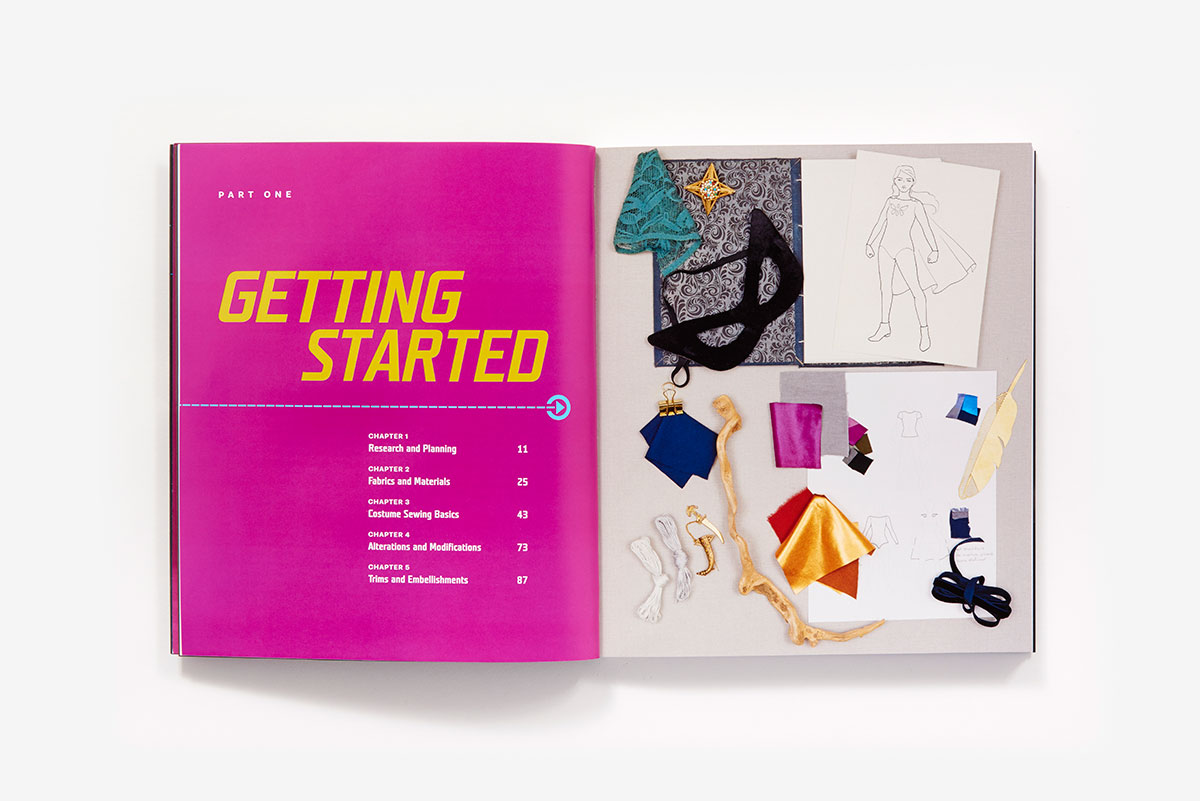
The Hero’s Closet is a practical introduction for anyone who wants to forget about generic, store-bought costumes, including a complete primer on sewing technique, plus patterns for 11 basic pieces that can be combined, altered, and adapted into 9 full-blown costumes. Will James at GeekDad calls the “Getting Started” section “worth the price of admission alone,” but even an advanced sewist might be surprised by sensible advice like Conahan’s for dealing with fake fur: “it should be cut from the back side using a razor blade or craft knife so you don’t cut the pile, which will help to minimize the fluffsplosion.”
In this excerpt from The Hero’s Closet you’ll learn to create a “luxuriously swishy” cape with stacked box pleats at the shoulders. It connects to your outfit with snaps, so you can “swiftly detach in the event of an emergency.”

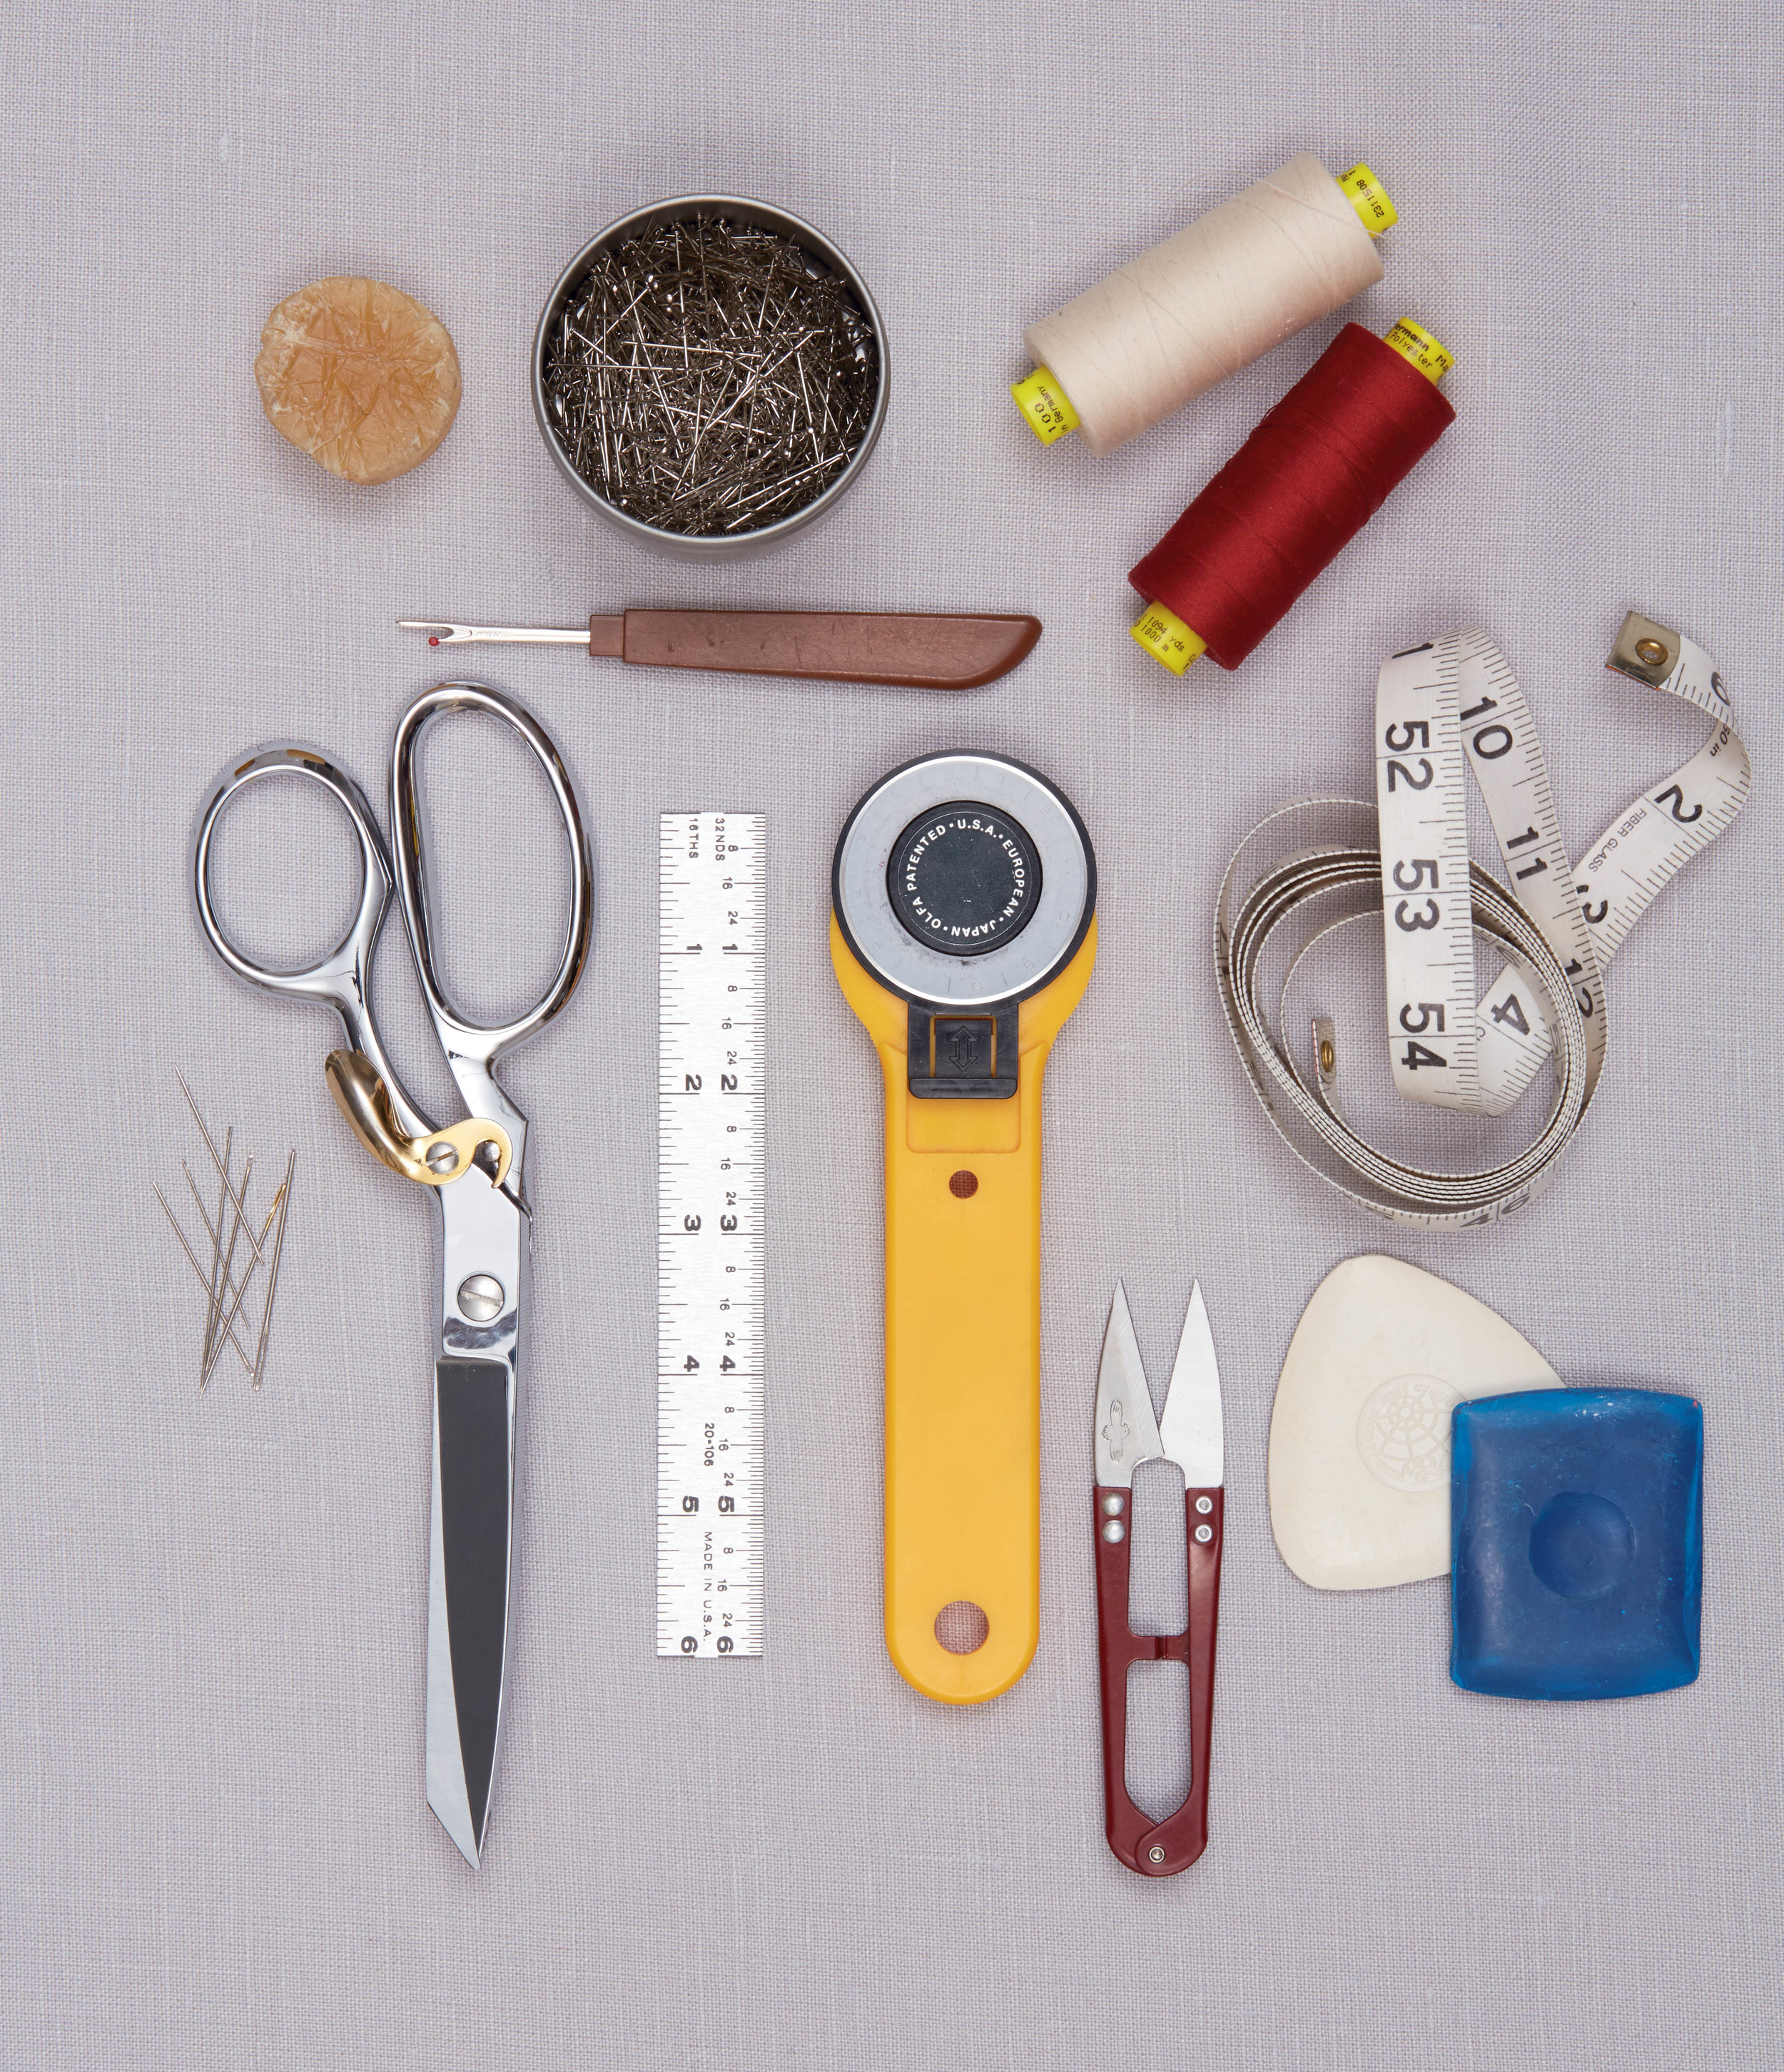
- Sewing Essentials (see above)
- Lightweight fabric with a soft drape, such as blouse-weight cotton, silk/cotton blends, silky polyester, charmeuse, crepe de chine, or even lining fabric—amount based on step 1 (I used 3½ yds/3.2 m of 54"/137 cm wide gray plain-woven cotton shirting.)
- 10" (25.4 cm) of twill tape, ½" to 1" (1.3 to 2.5 cm) wide (Anything in this size range will work.)
- 1 yd (.9 m) of bias tape, ½" (1.3 cm) single-fold (optional)
- 6 large sew-on snaps
- Large safety pins
- All-purpose thread in a matching color
- Trim or decorative medallions for the shoulders (optional)
NOTE: Choose stable fabrics that don’t stretch or fray much, and make sure that both the garment you’re attaching the cape to and your chosen fastening method can stand up to the weight of the cape. If you want to use a heavy, bulky fabric like velvet, you may need to reinforce the attachment point with interfacing or a piece of twill tape behind the snap area. If you’re attaching the cape to a stretch garment, stick with very lightweight fabrics for the cape to avoid straining the fabric.
Download the cape pattern at the link above. Fold the fabric widthwise and cut 1 on the fold; see steps 2 and 3 for details.
INSTRUCTIONS
⅜" (1 cm) seam allowances are used for this pattern.
1. Begin by determining how much yardage you need to buy for your cape. The amount of fabric required will be twice your finished length + your shoulder width (measured across your back) + 16" (40.6 cm) for shoulder extensions and hem allowance. Excess width will fall into draped folds down your back, so if you like that look, feel free to exaggerate it by adding even more width to your shoulder width measurement. (Because the pattern is cut on the fold, any adjustment in the measurement should be halved when placing the template.) The maximum cape length will be the width of the fabric minus 9" (22.9 cm) unless you want to add a seam; for a long cape, make sure you’re buying a sufficiently wide fabric. For this cape, 3½ yds (3.2 m) of 54"- (137 cm-) wide fabric was used, based on a finished length of 45" (114 cm) and a shoulder width of 16" (40.6 cm).
2. Fold the fabric along the cross grain, aligning the selvages. Place the cape template at the top of the folded edge, making sure to place the half-shoulder width mark at the appropriate distance from the fold. (Compare your shoulder width to the bar on the cape template to determine where to place the template on your fabric.) Use the pleat lines as a guide to extend the cape to the desired length, adding the same amount onto the end of each pleat line and at the center back (A).


3. Connect the marks into a smooth curve to create the hemline of your cape. Cut along the hem curve, around the top edge of the cape template, and parallel to the selvages for the straight front edge (it’s best to trim the selvages off as they’re more tightly woven than the rest of the cape and may pull or ripple). If there is a gap at the center back neckline, simply cut straight across to the fold. Mark the pleat positions with small snips in the seam allowance.
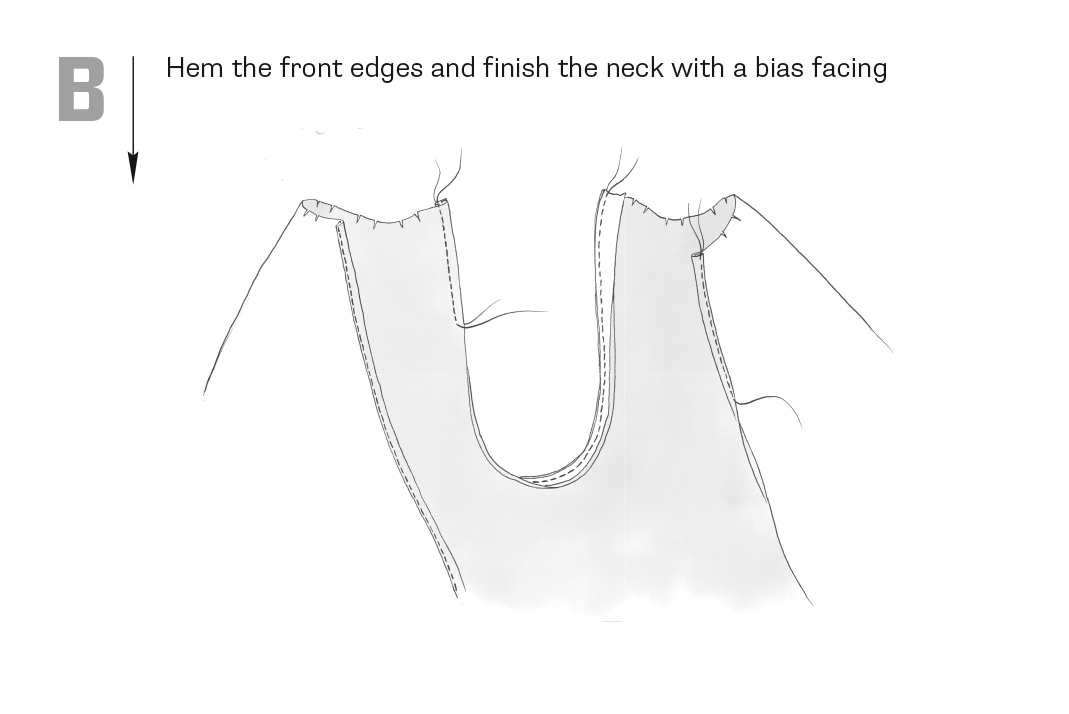
4. Sew a narrow or double-fold hem (see page 67) on the two straight front edges of the cape. Finish the curved neckline edge with a narrow bias facing, as shown on page 65 (B). The facing used here is a bias strip (see page 66) cut out of leftover cape fabric that is 1" (2.5 cm) wide and stitched on with a ⅜" (1 cm) seam allowance.
5. Use the snips you made in step 3 and the center notch as a general guide to form the pleats on each shoulder. Arrange the pleats to your liking and pin in place (C). For example, you may want to make the pleats shallower or deeper to adjust the amount of shoulder coverage. Make sure both sides match.

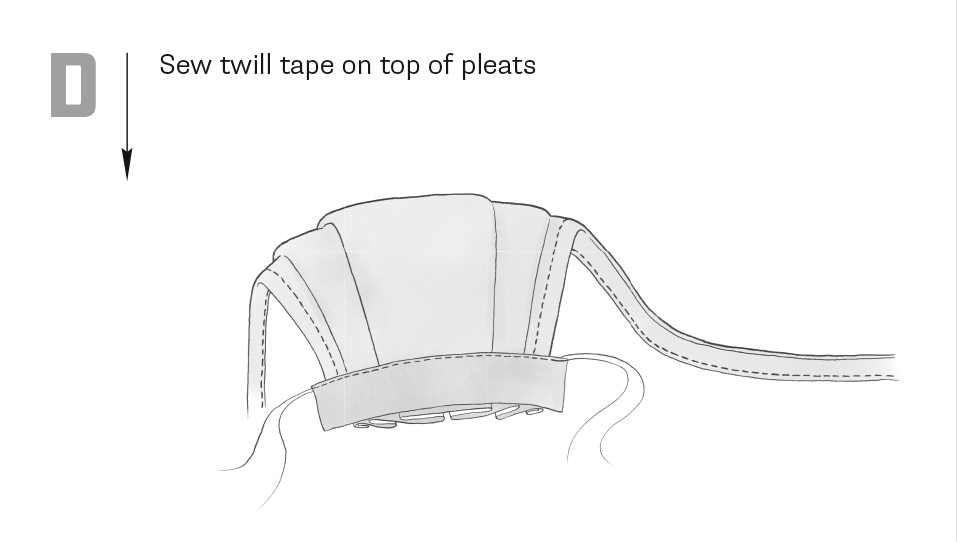
6. Place a 5" (12.7 cm) strip of twill tape on top of the end of the pleats on the right side of the fabric as shown in (D). Sew in place along the upper edge of the tape.
7. Wrap the ends of the twill tape around the edges and fold to the underside. Stitch around the edges of the tape through all layers. Attach the male side of the snaps to the twill tape (E) and the female side to the garment. Repeat steps 6 and 7 for the second shoulder.

8. Clip the shoulder pieces to a hanger and let the cape hang for a day or two so the fabric can relax. Pin the cape on a dress form or safety pin it to a helpful friend and check the length. Trim if necessary to make it nice and even and sew a narrow double-fold hem around the long curved edge (F). If you like, attach trim or decorative medallions to hide the shoulder ends.

To see the finished cape in action as part of Conahan’s “Superhero 2” costume, browse a sample of The Hero’s Closet below. Be sure to check back here at ABRAMS Craft for news on Gillian Conahan’s appearance at New York Comic Con this fall.